Easy Ways to Cook Corn on the Cob
As an Amazon affiliate, I earn from qualifying purchases.
These are the 3 best ways to cook corn on the cob: in the microwave, on the grill, and in a pot on the stove. Plus, how to cut kernels off the cob!
Is there anything better than sweet summer corn, fresh from the farmer’s market? IMO, not much. But have you ever bitten into an ear of corn and found it starchy or starting to shrivel? Cooking corn is easy, but it is also very easy to store it incorrectly or overcook it.
After 10+ years as a personal chef and almost 20 as a mom to corn lovers, I’ve made hundreds of perfectly cooked ears of corn. Let me show you the 3 best ways to cook corn on the cob: in the microwave, on the grill, and in a pot on the stove—with tips for each!
Easy Ways to Cook Corn on the Cob
I have three favorite methods of cooking fresh corn. You might choose one over the other depending on how many ears of corn you want to cook, and whether you have access to a grill. Pros and cons for each are listed below.
How to Microwave Corn on the Cob:
- Trim off the silk and leaves at the top of each ear of corn and pull off any loose pieces of husk. Then put the corn (still in their husks) on a plate in the microwave. In general, an ear of corn will take around 4 minutes, with 2-3 minutes for each additional ear of corn. And time may vary based on how large your ears of corn are. Remove plate from microwave when done, and let corn rest for 5 minutes to cool down. When corn is cool enough to handle, peel back husk and remove corn silk. I’d recommend cooking only 2-3 ears at the same time—pilling more ears than that into the microwave is awkward and may result in the ears not evenly cooking.
- Advantages: Speed and ease of cleanup (no pans to wash!). Also, you'll find the corn silk will just peel right off. Best for cooking small numbers of ears of corn.
- Disadvantages: Takes longer the more ears of corn you have. Difficult to cook more than 2-3 ears at the same time.
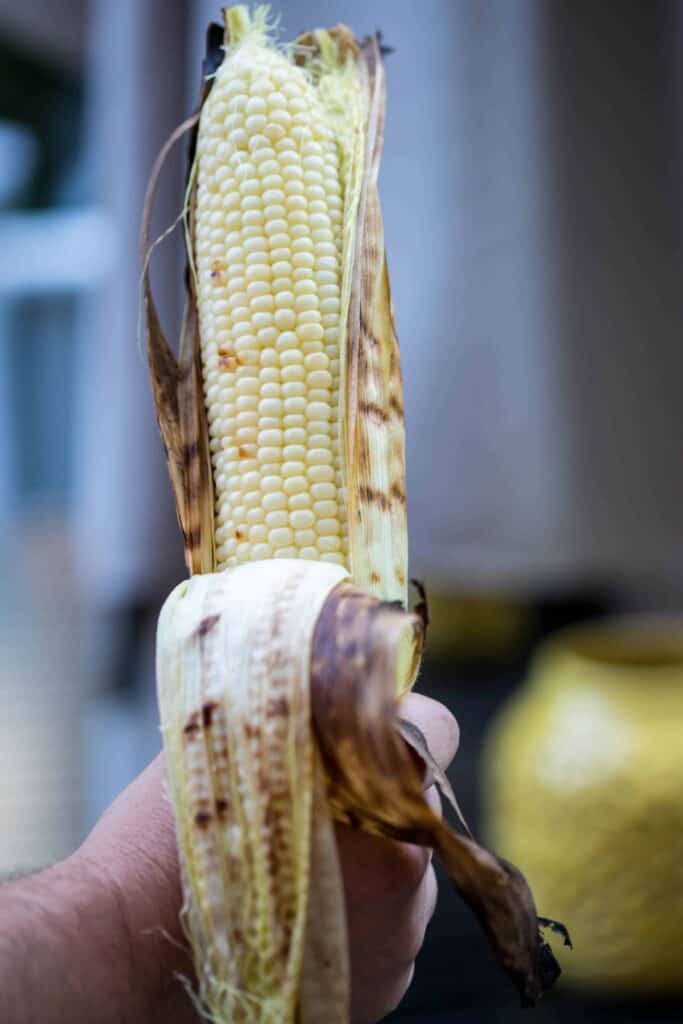
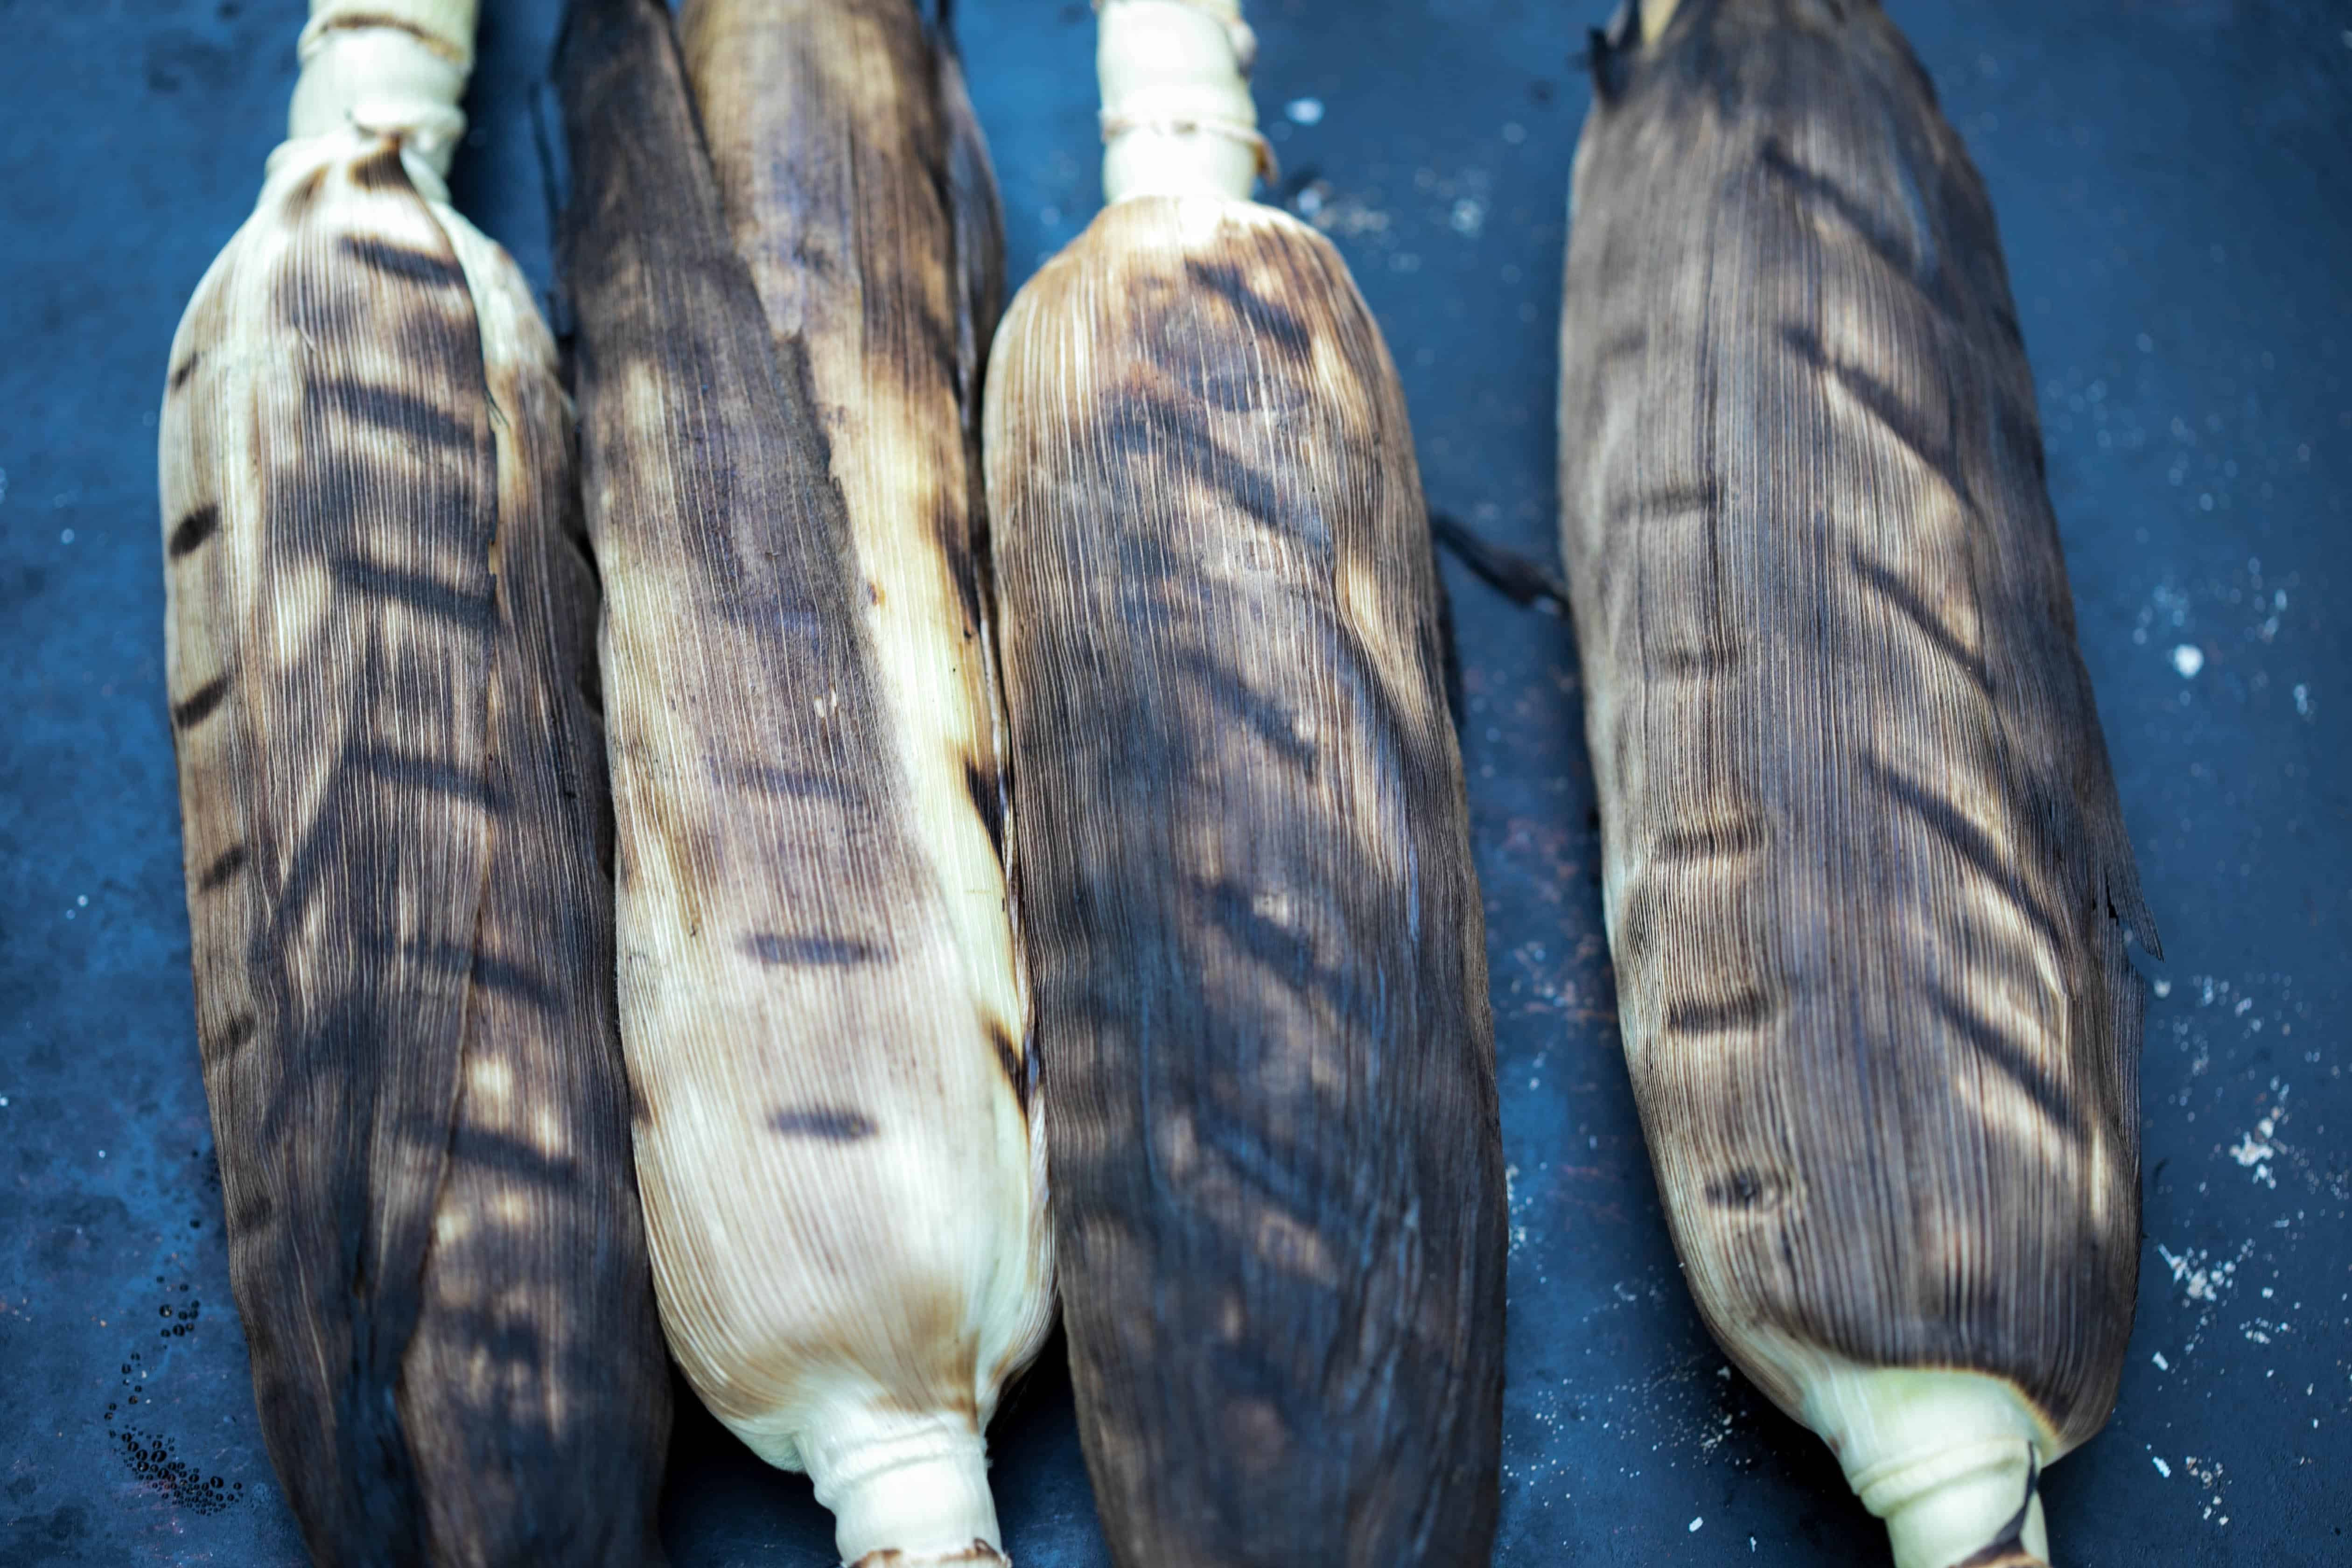
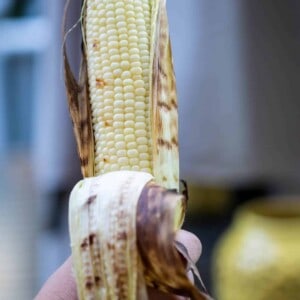
How to Grill Corn on the Cob:
- Here are my instructions for the best way to cook corn on the grill. First, trim off the silk and leaves at the top of each ear of corn with a pair of kitchen scissors and pull off a couple of layers of husk. Corn will cook faster if there are fewer layers of husk between the corncob and the grill. Also, you don’t want loose silk or leaves that could catch on fire. Leaving some of the husk on is helpful so that the corn stays juicy and doesn’t burn. Grill for 20-25 minutes over medium-high heat, turning frequently. You want grill marks on all sides of the corn. A little blackening of some of the husk is perfectly fine.
- Advantages: If you have grill space, you can do a bunch of ears of corn at once. And, your corn will have a slight smoky flavor that is really delicious. Finally, barely any cleanup necessary.
- Disadvantages: You need a fairly large grill, especially if you are also cooking hot dogs, burgers, or other items at the same time. Also, this method takes the longest amount of time.
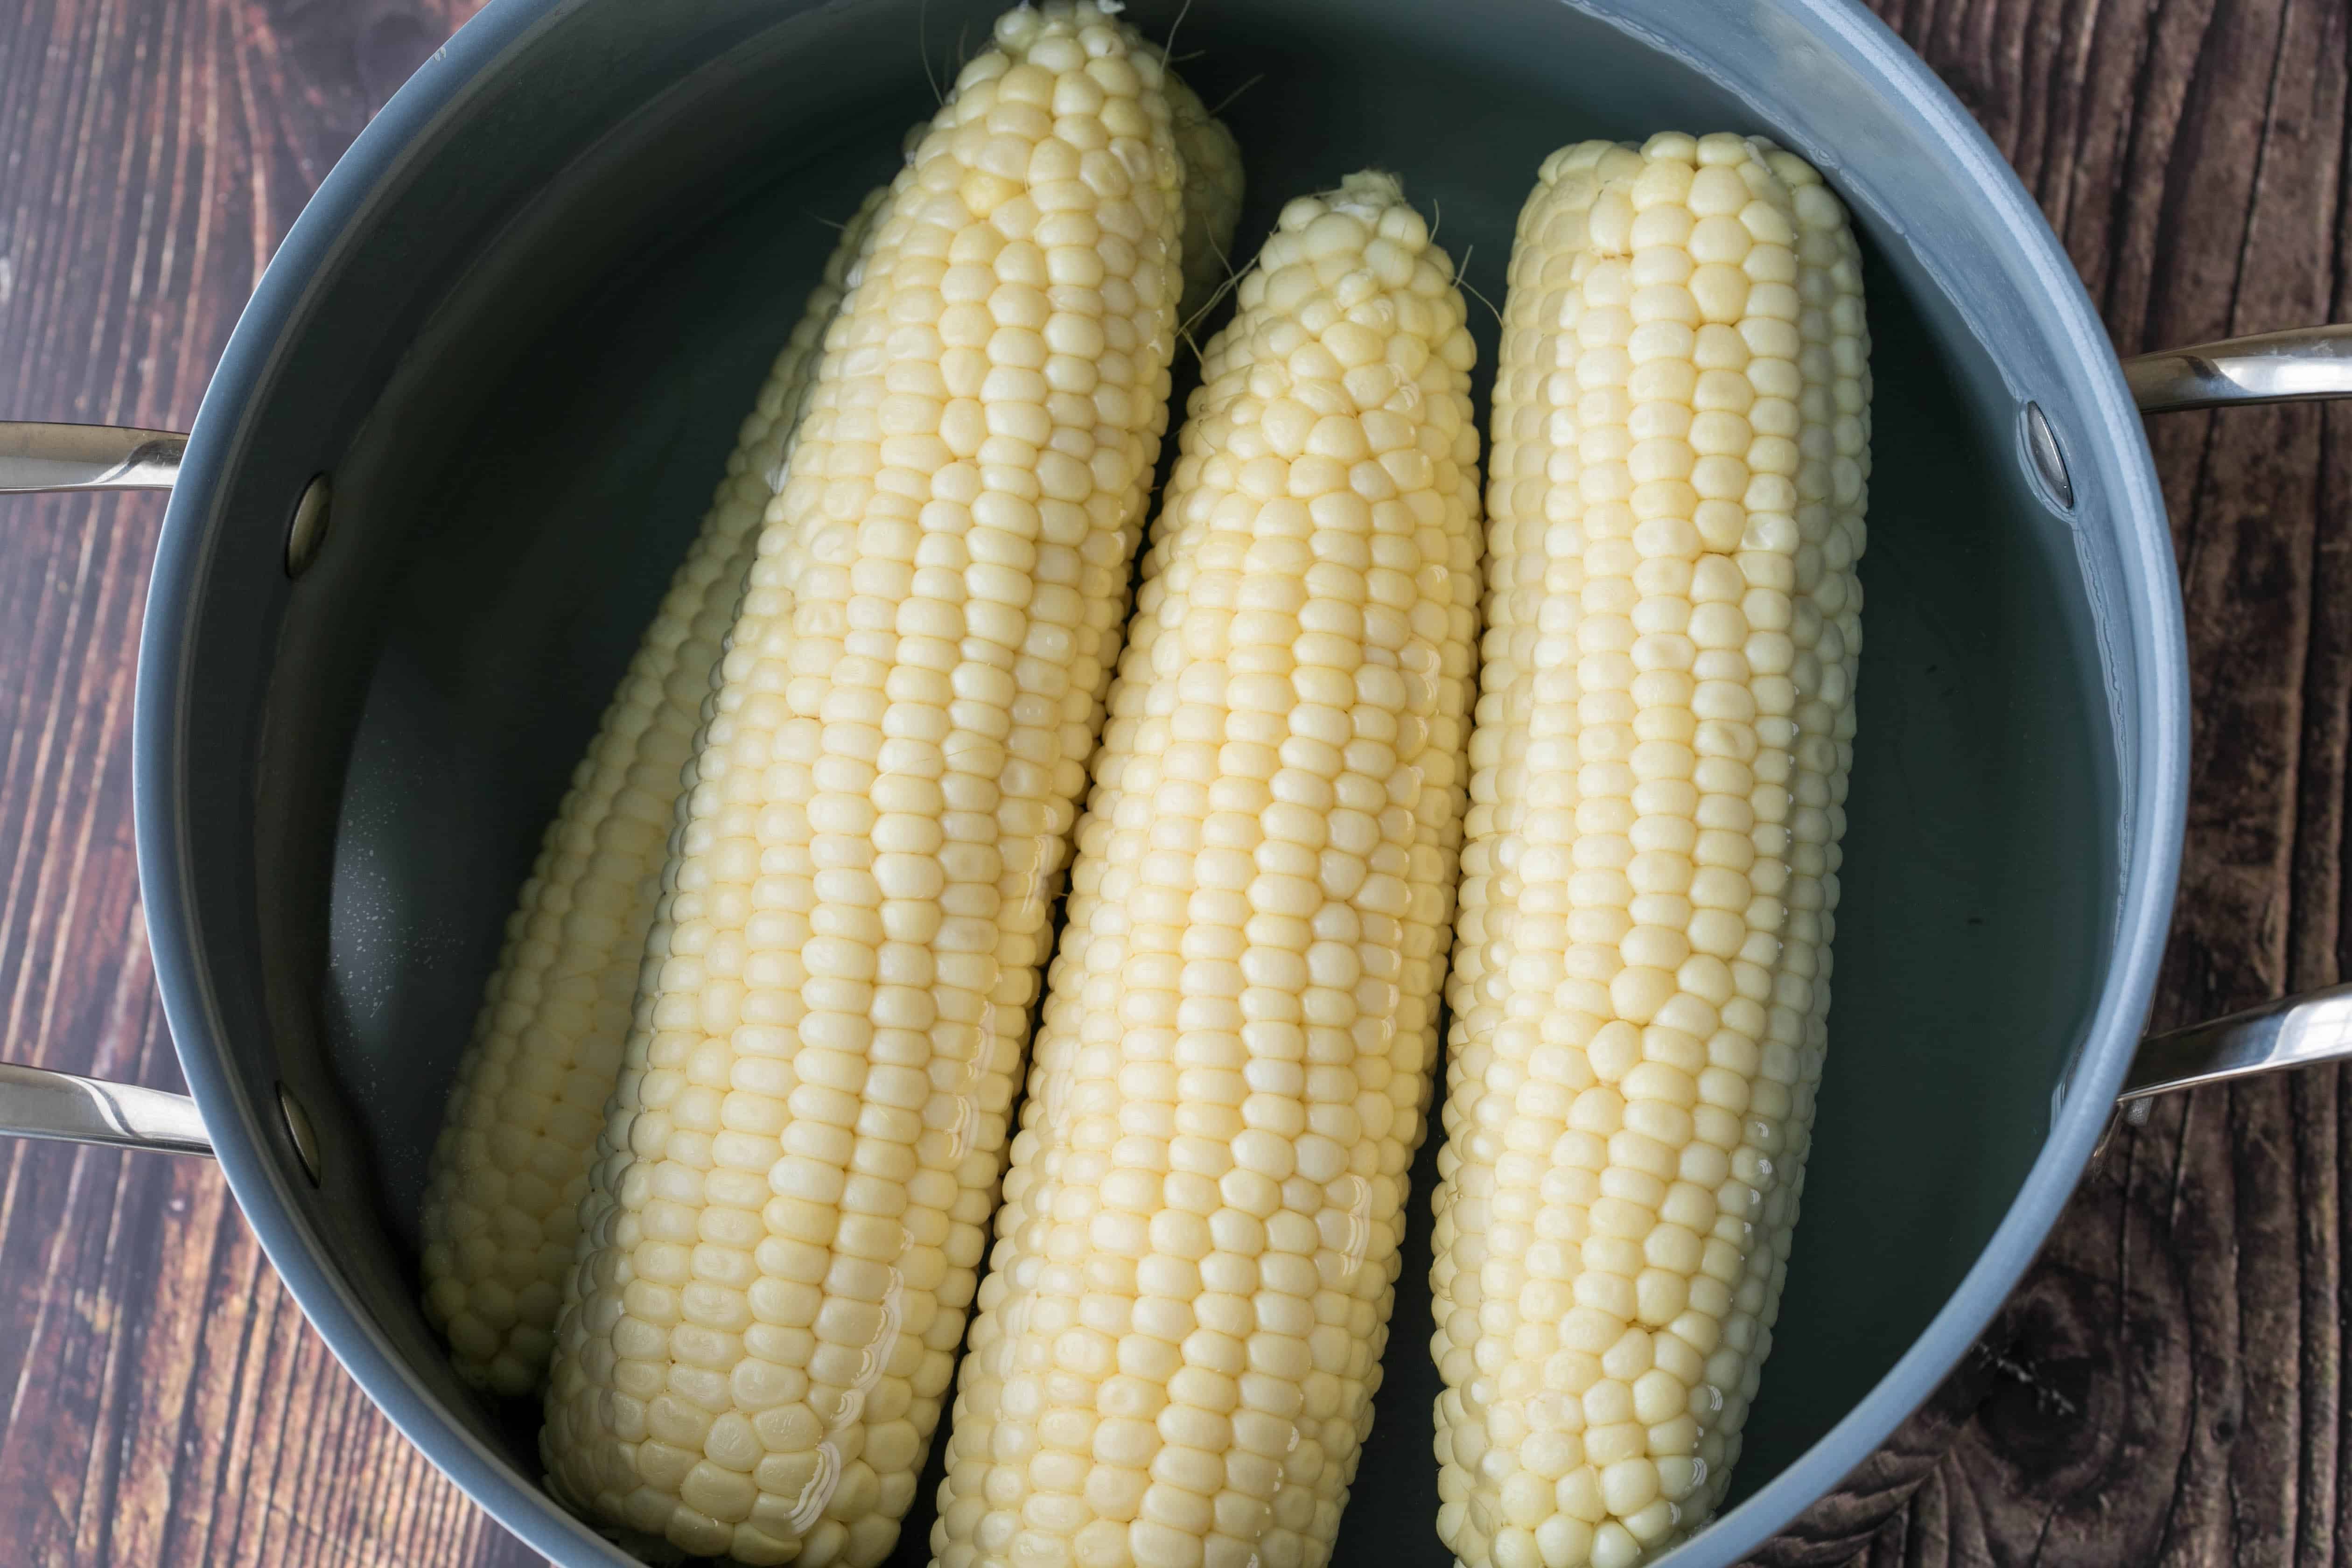
How to Boil Corn on the Cob:
- Husk each ear of corn. Bring a large pot of salted water to a boil. When water is boiling, add corn. Boil for 5 minutes, moving corn around occasionally so they cook evenly. Use tongs to remove corn when done.
- Expert move: When corn is done and you have removed it from the pan, drain water and put pan back on the stove. Add a few tablespoons of butter (½ T. per ear) and heat over medium until it melts. Then put the corn back in the pan and use tongs to turn them around in the melted butter. Sprinkle with salt and enjoy!
- Advantages: Boiling corn is easy and you can cook several ears of corn at once. Using the pan for butter application after cooking is 🙌.
- Disadvantages: Must wash the pan afterwards.
Corn on the Cob Serving Suggestions
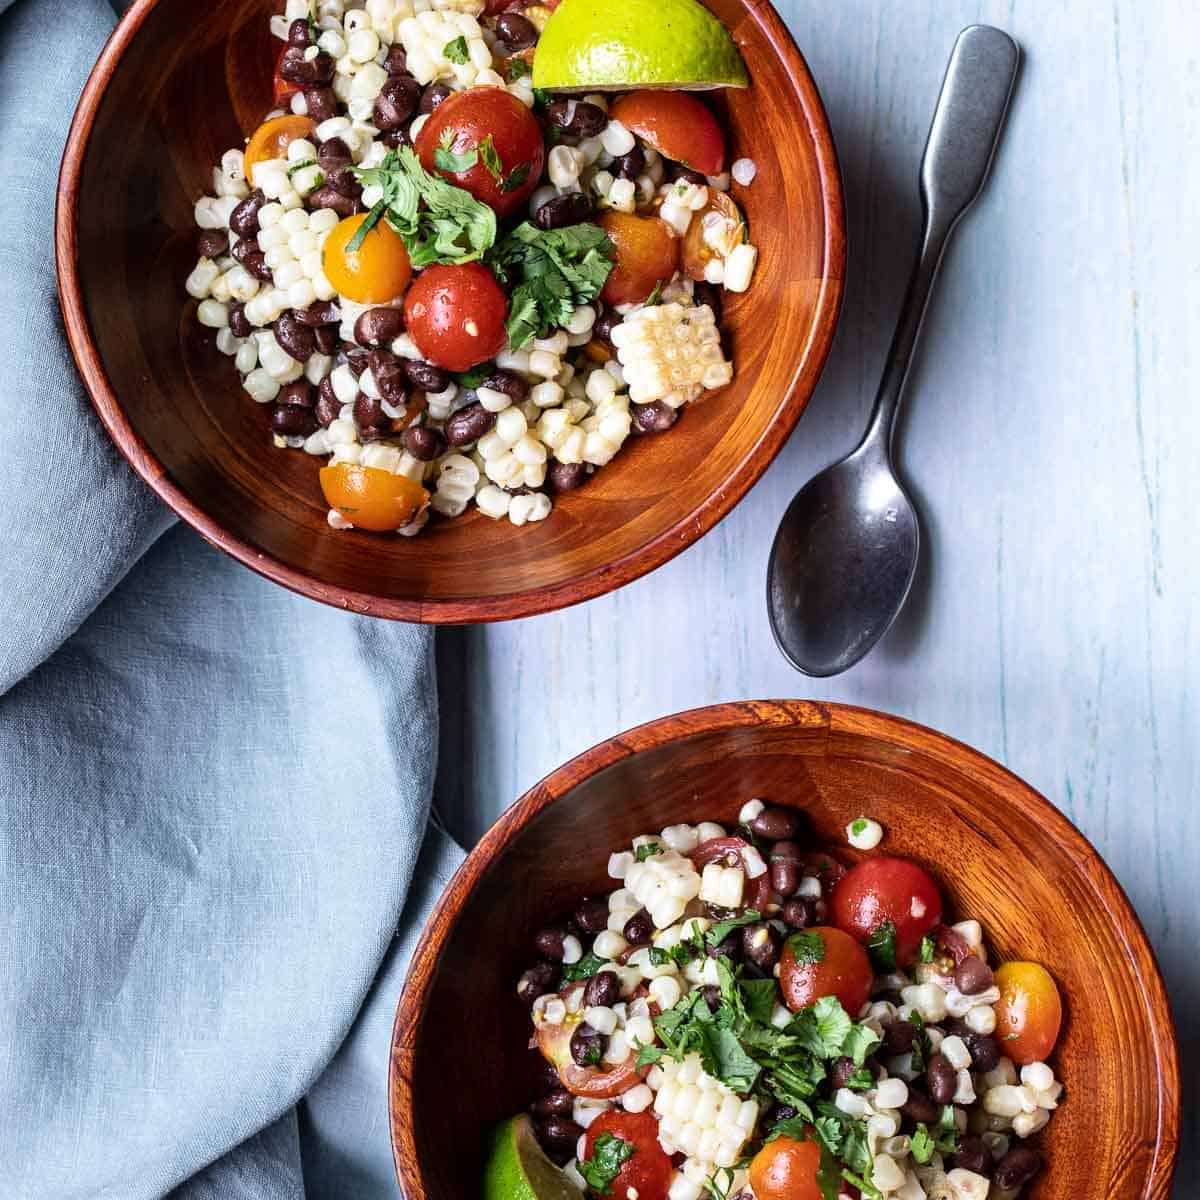
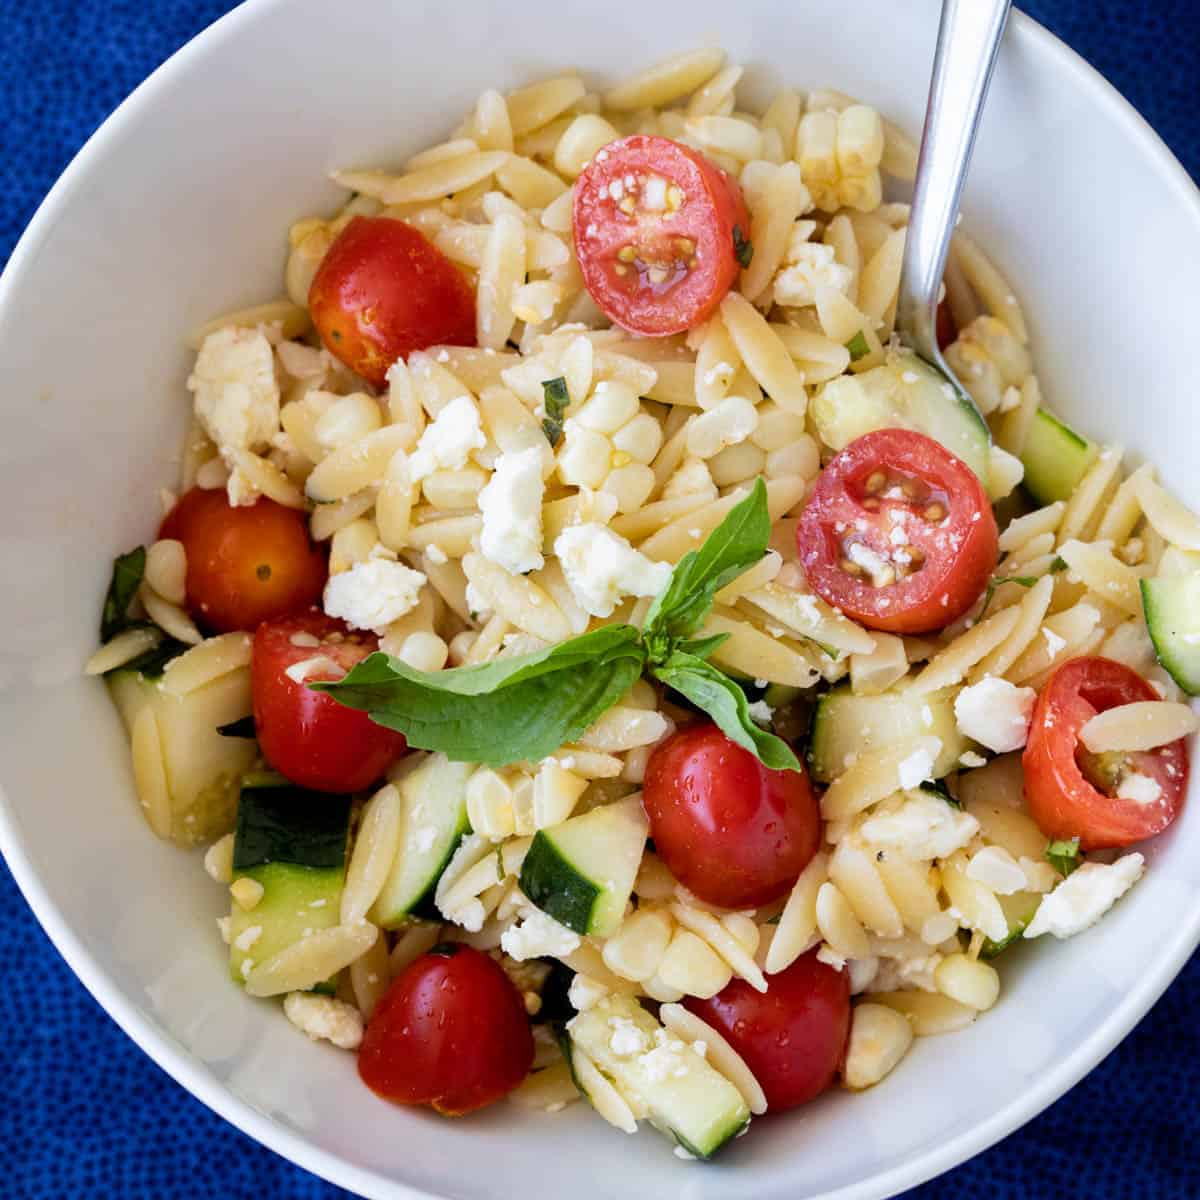
As a corn on the cob purist, I like to serve mine lathered in butter with a good sprinkle of salt. But corn is actually super versatile if you want to add other flavors. Try making a mixture of chili powder and lime zest to put over it. Smear it with a flavored butter like my Herb and Garlic Compound Butter or my Black Garlic Butter. Corn is the perfect summer side dish for so many recipes. Try it with anything grilled or summery like Stuffed Tomatoes or Turkey Zucchini Meatballs. I also love to cut kernels off the cob and stir into an Orzo Pasta Salad or my Black Bean and Corn Salsa.
How to Store Corn on the Cob
Refrigerate leftover corn for up to 3 days. You can either wrap corn on the cob in foil, or cut the kernels off the cob and refrigerate in an airtight container.
Can you freeze corn on the cob?
Yes! I would recommend cooking your ears of corn first, or at least blanching them for a minute in boiling water, then putting them in a bowl of ice water to stop the cooking process. You can store cooked or blanched ears of corn in a large ziploc freezer bag. Or, if you have fully cooked your corn, you can cut the kernels off and freeze the kernels in ziploc freezer bags instead. Removing as much of the air as possible when you close your freezer bags will help prevent freezer burn. Use within 3-6 months for the best taste.
Ways to Cook Corn on the Cob FAQS
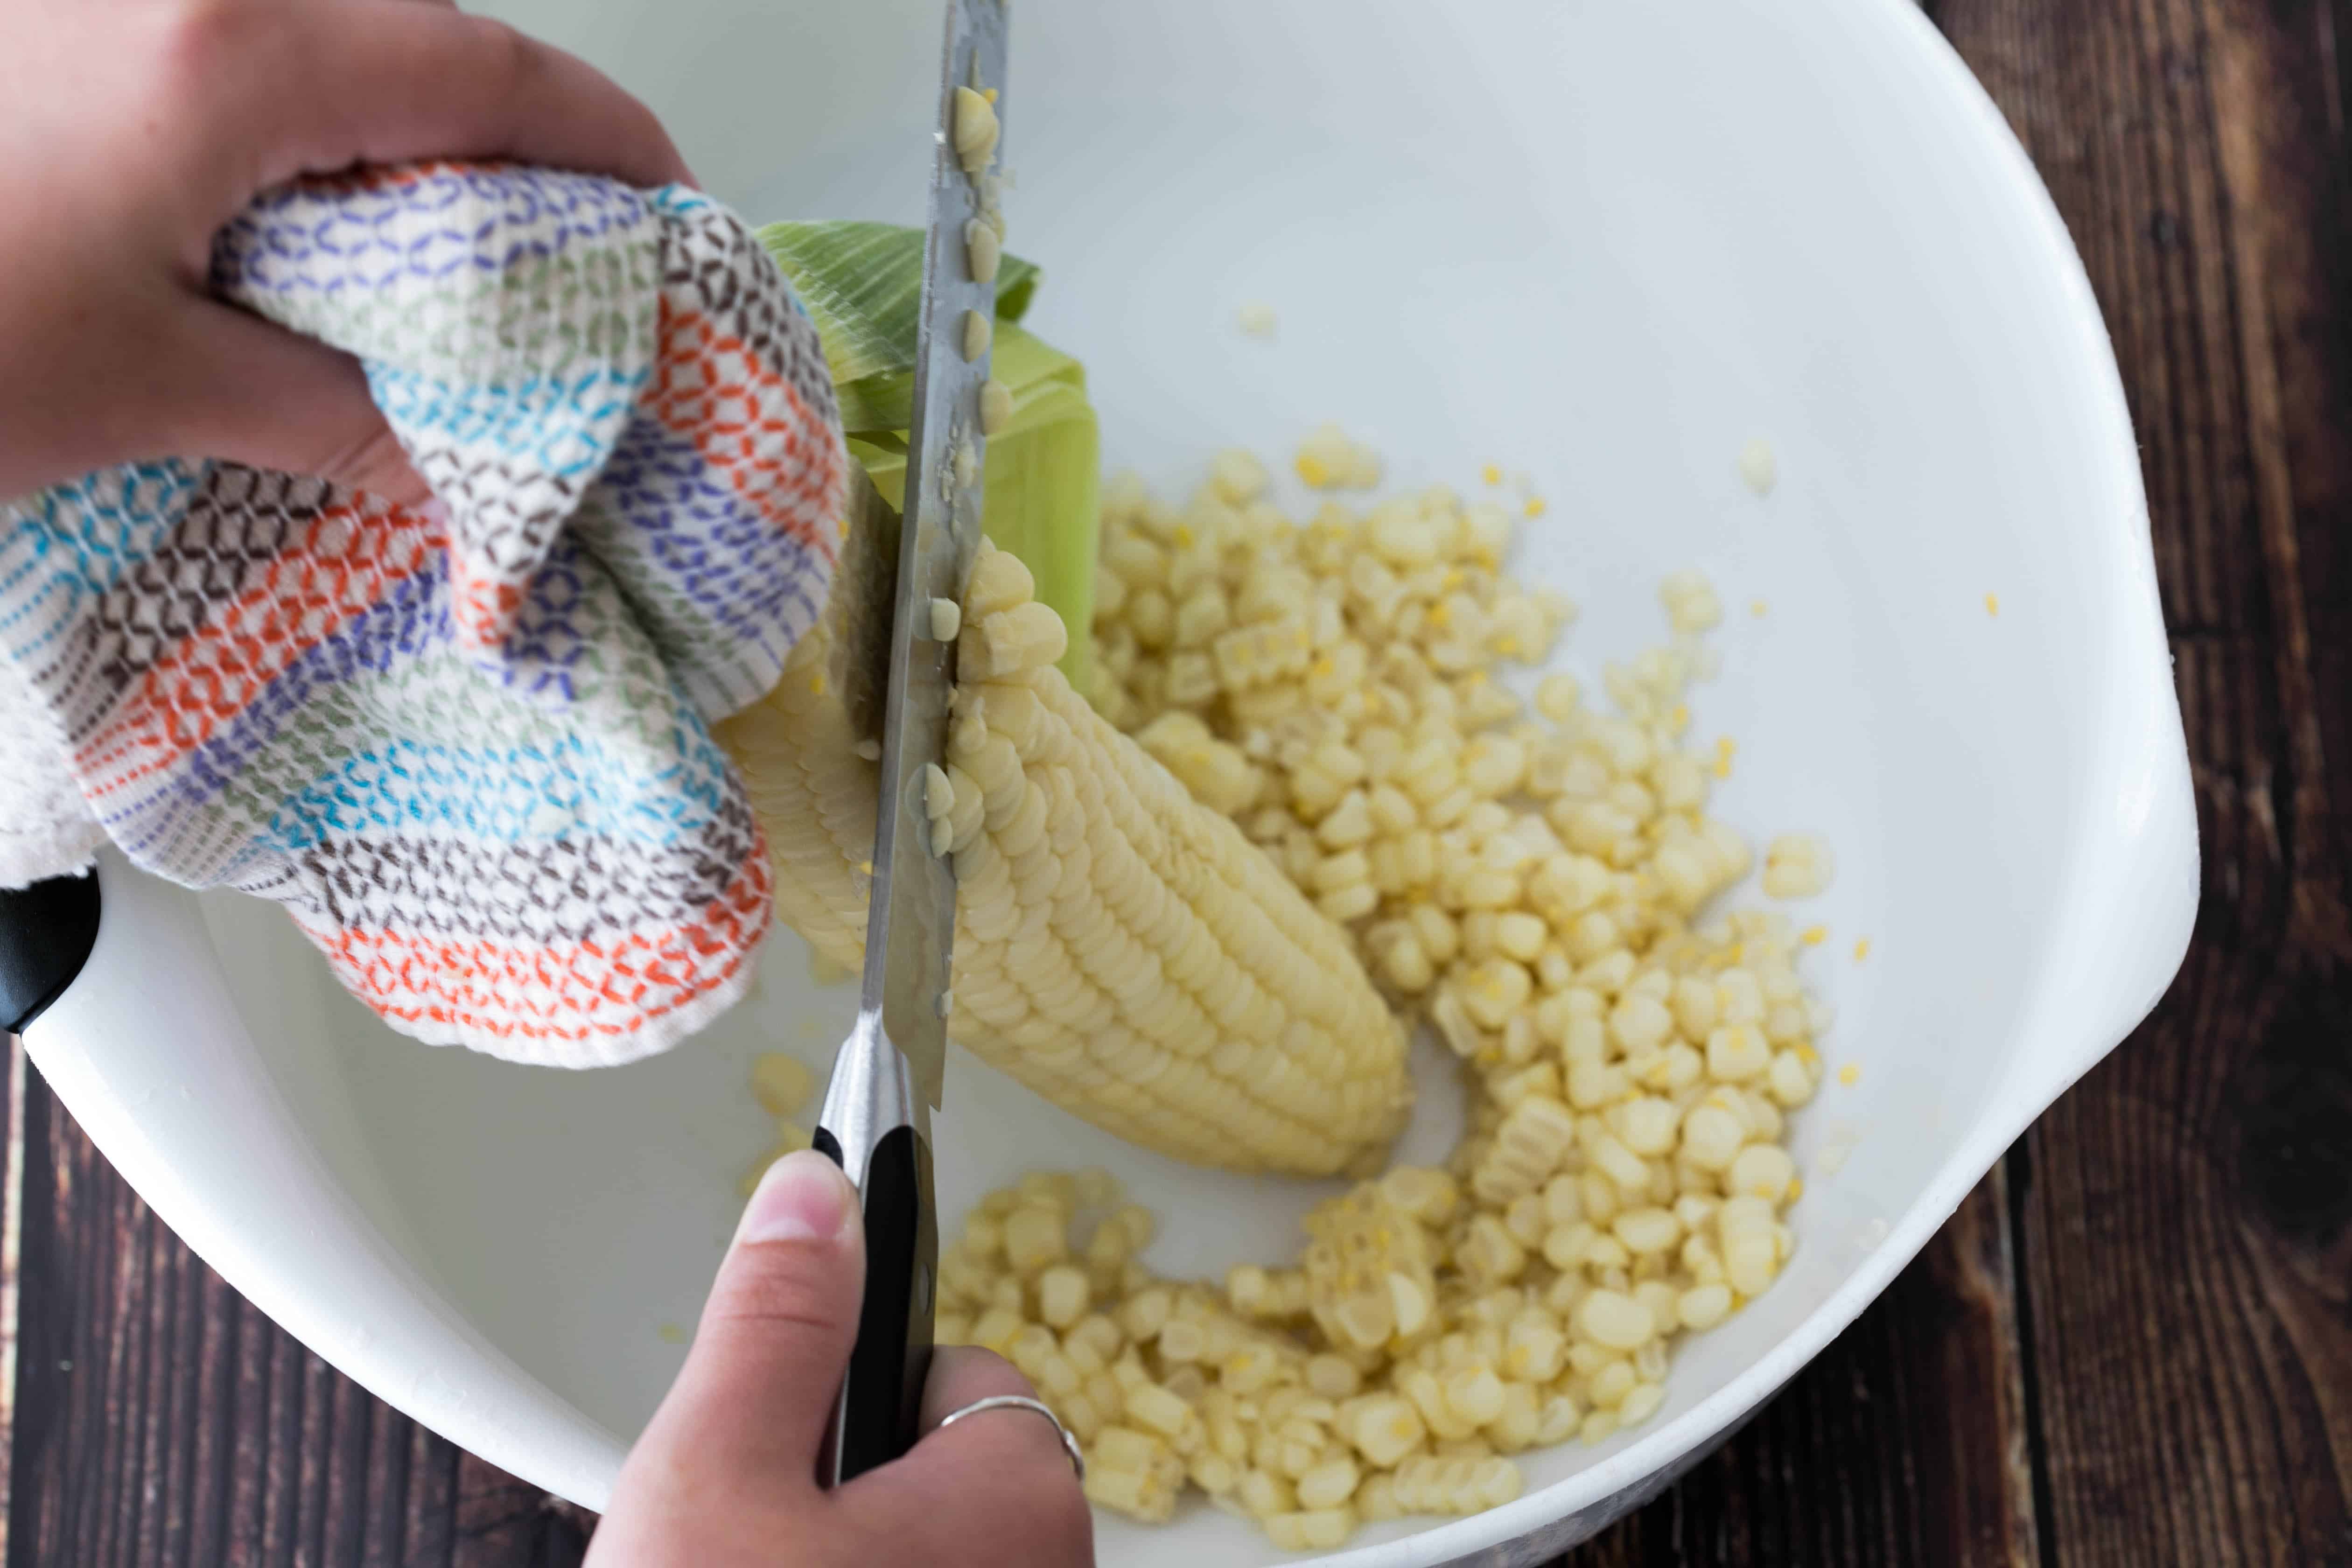
After you have cooked your corn in any of these three methods, you may want to cut the corn off the cob to use in salads (or if you or your child has braces!). Here’s how you do it. When corn is cool enough to handle, stand corn upright in a large bowl, holding it tightly at the top, and then slice off corn kernels using a sharp chef’s knife. Note: if you have microwaved or grilled your corn, you can use the husk you have peeled back for a better grip.
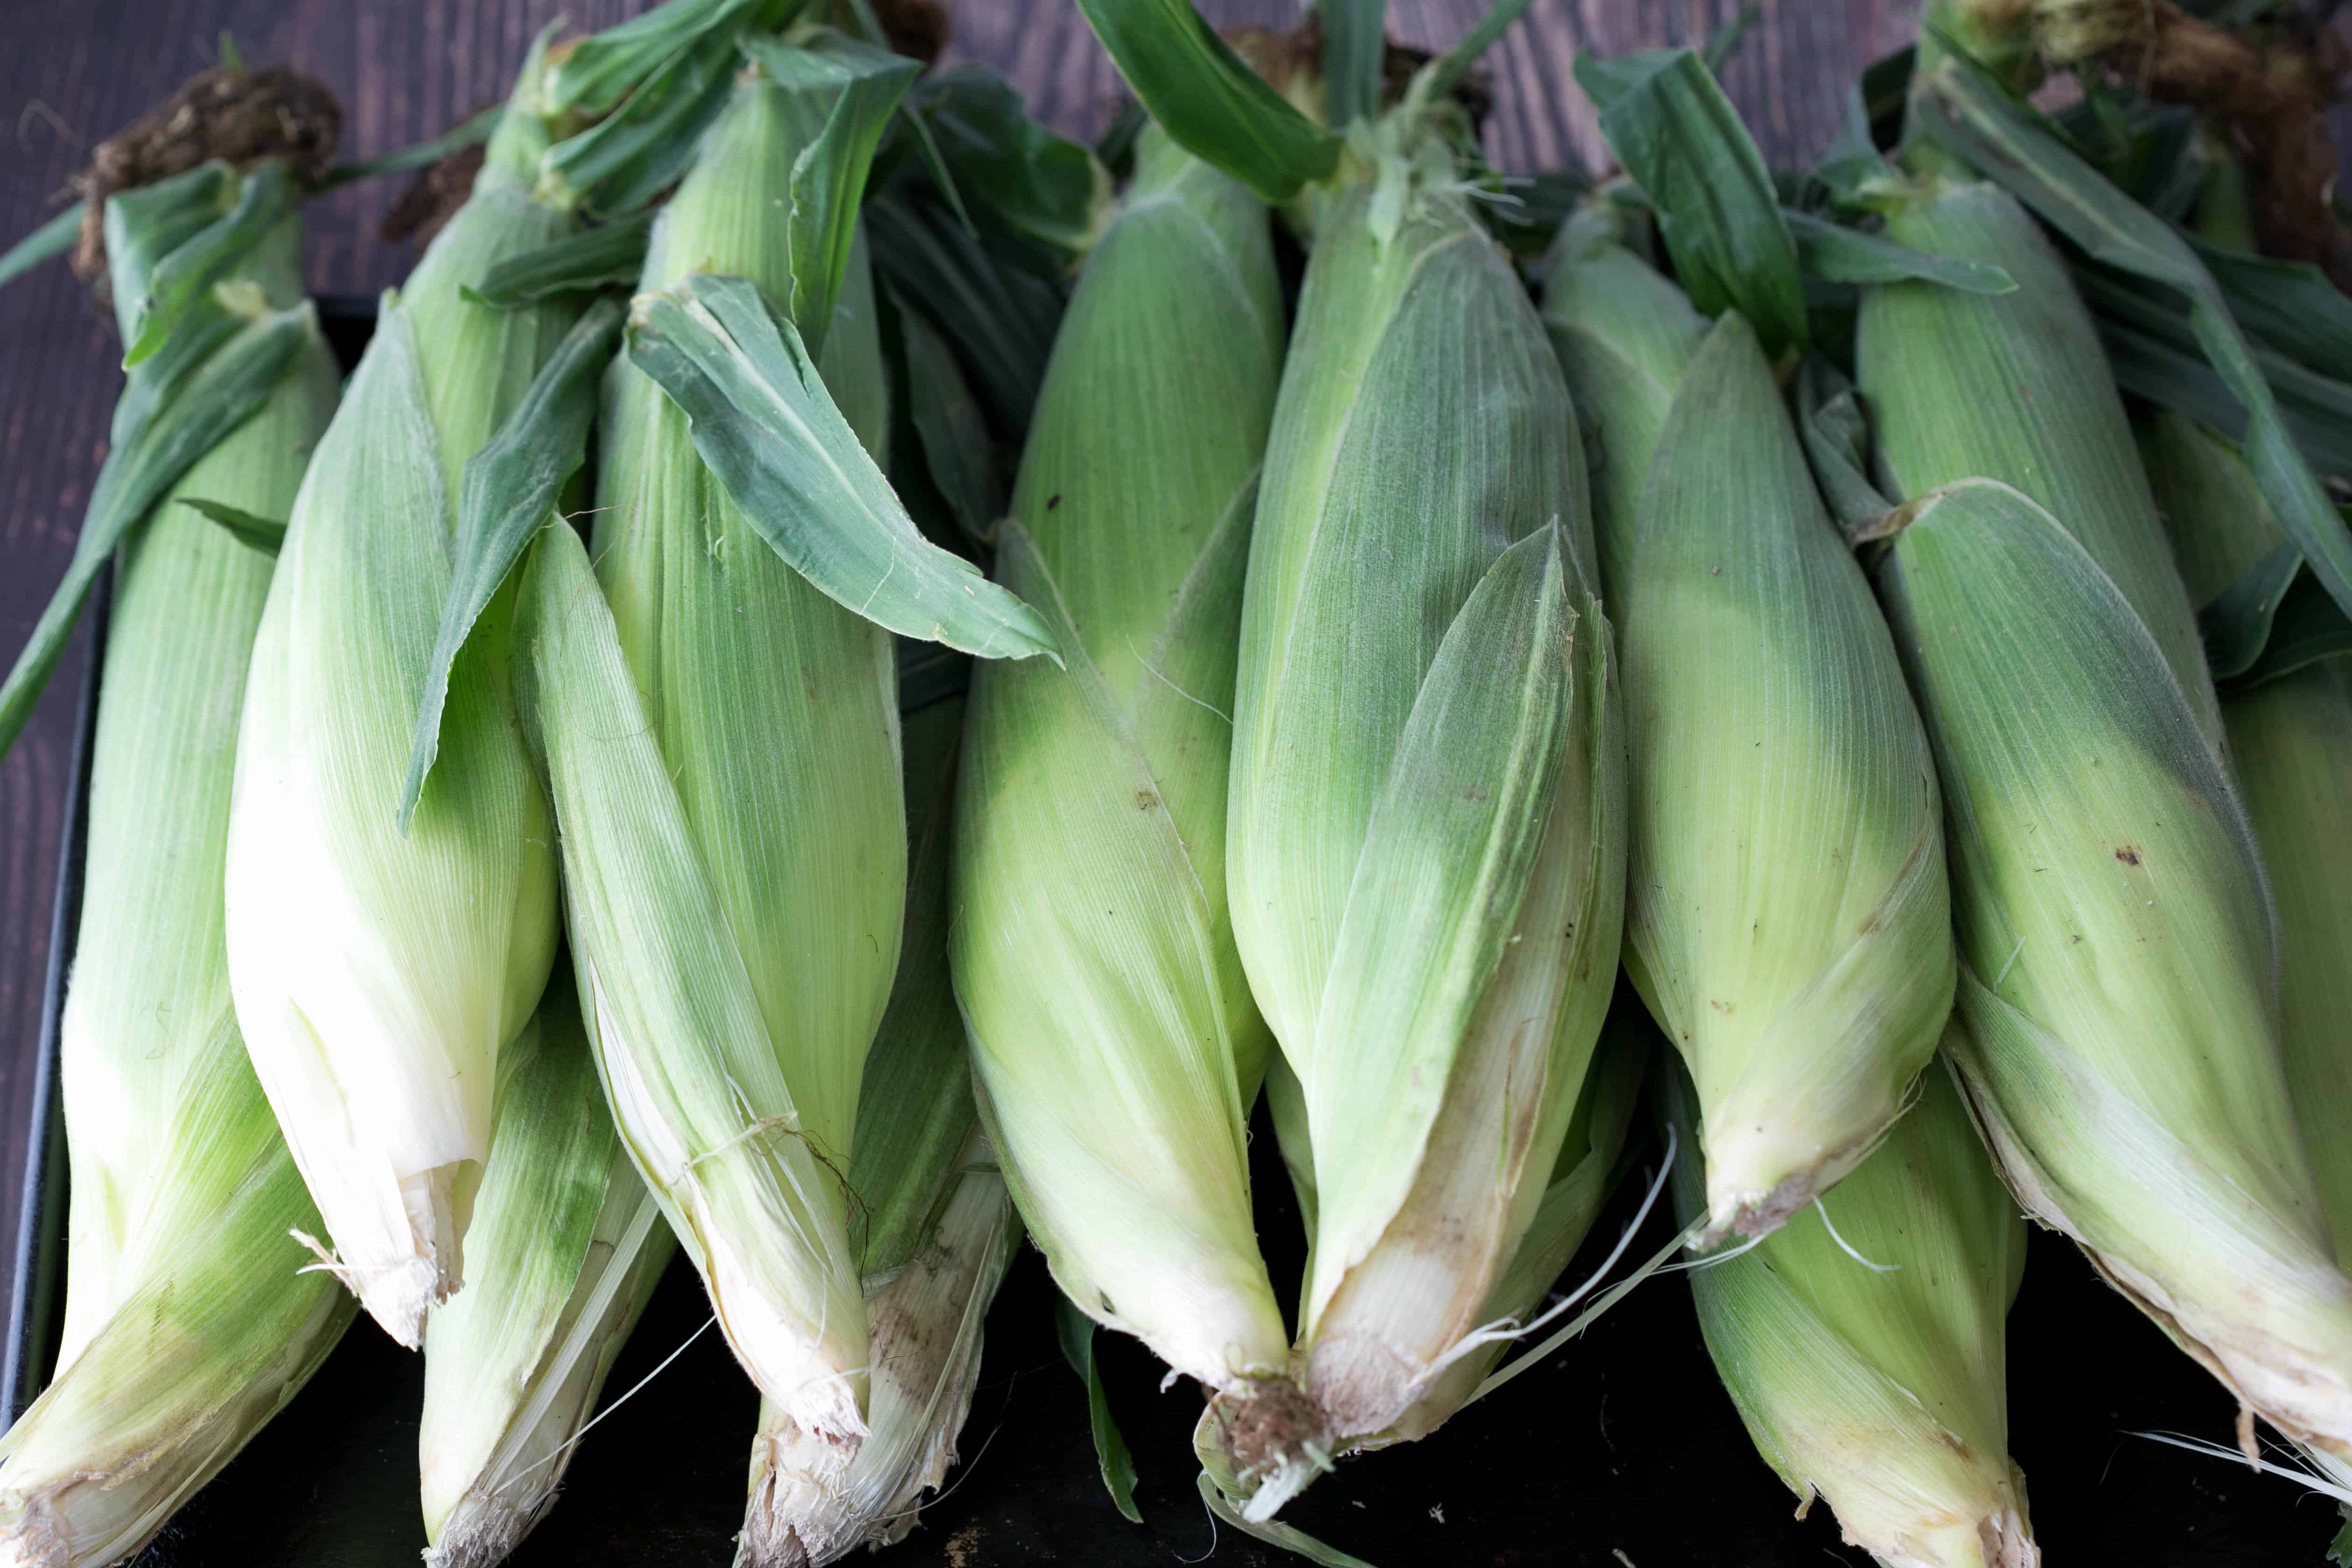
The best ears of corn will have tightly wrapped husks that will look green and not dry. You can peel back the top of the husk to look for juicy corn kernels, or be more polite and feel for large firm corn kernels through the husk. Peeling back the husk also will begin to dry out the corn kernels inside, so refrain from doing so if you don't plan to use your corn right away.
As soon as corn is picked, its corn sugars begin to convert to starch. This will take your corn from sweet to chalky very quickly. The reason that farmer’s market corn can be so much more delicious than grocery store corn is because it's often been picked that morning or the day before. Regardless of where you buy your corn, it’s best to eat it within 1-2 days for the sweetest taste. If you buy a bunch of ears, and can’t use them right away, you can store the unshucked corn in the refrigerator—cold temperatures will slow down the sugar conversion process.
Favorite Recipes Featuring Corn
Now that you have cooked your corn, here are a few of my favorite recipes that include fresh corn. So delicious!

📖 Recipe
Want to Save This Recipe?
Enter your email & I'll send it to your inbox. Plus, get great new recipes from me every week!
By submitting this form, you consent to receive emails from Vanilla Bean Cuisine.
Grilled Corn on the Cob
Ingredients
- 6 ears of corn
Instructions
- Trim off the silk and leaves at the top of each ear of corn with a pair of kitchen scissors and pull off a couple of layers of husk. Corn will cook faster if there are fewer layers of husk between the corncob and the grill. Also, you don’t want loose silk or leaves that could catch on fire.
- Grill for 20-25 minutes over medium-high heat, turning frequently. You want grill marks on all sides of the corn. A little blackening of some of the husk is perfectly fine.
Notes
Nutrition

More About Molly

Cooking healthy(ish) meals with seasonal ingredients is my passion. Trained as a French pastry chef, I spent over 10 years as a personal chef. Here you'll find well-tested recipes that you and your family will love!


I had no idea about corn not being available in France! Certainly I would be eating my weight in corn as well! I’ve started using the microwave for corn - I wrap a corn cob or two in a towel, then microwave for about 3 minutes per cob. What I like is that you can remove the whole husk, silk and all, in one piece. It’s miraculous! I got the tip from Eating French.
Yes, I love that method too! Excellent for peeling off the corn silk.