Easy Pickled Radish Recipe
As an Amazon affiliate, I earn from qualifying purchases.
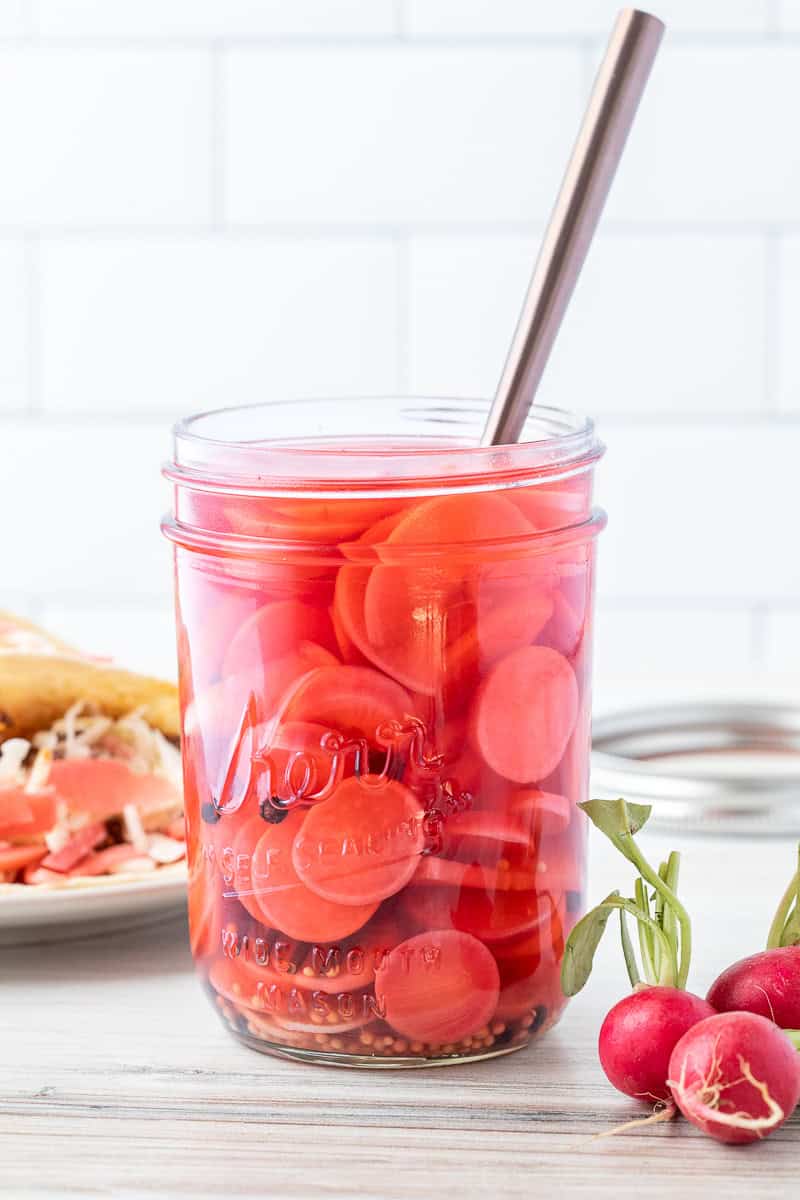
These quick pickled radishes are crisp, tangy, and ready in about an hour with no canning and no fuss. If you want a fast way to add brightness and crunch to everything from tacos to sandwiches to charcuterie boards, this is a recipe you’ll keep on repeat.
As a former personal chef, I leaned hard on quick pickles like this to instantly elevate simple dishes. What makes this version stand out is the balanced brine. There’s just enough vinegar for bite, a touch of sugar to round it out, and warm spices that add depth of flavor. Plus, refrigerator pickles are so easy to make!
Jump to:
Why Make This Pickled Radish Recipe
- So fast: takes under 10 minutes to make and ready to eat in about an hour
- Balanced flavor: not too sharp, not too sweet, not too salty
- So versatile: once you have a jar of these in your fridge, you’ll use them on everything
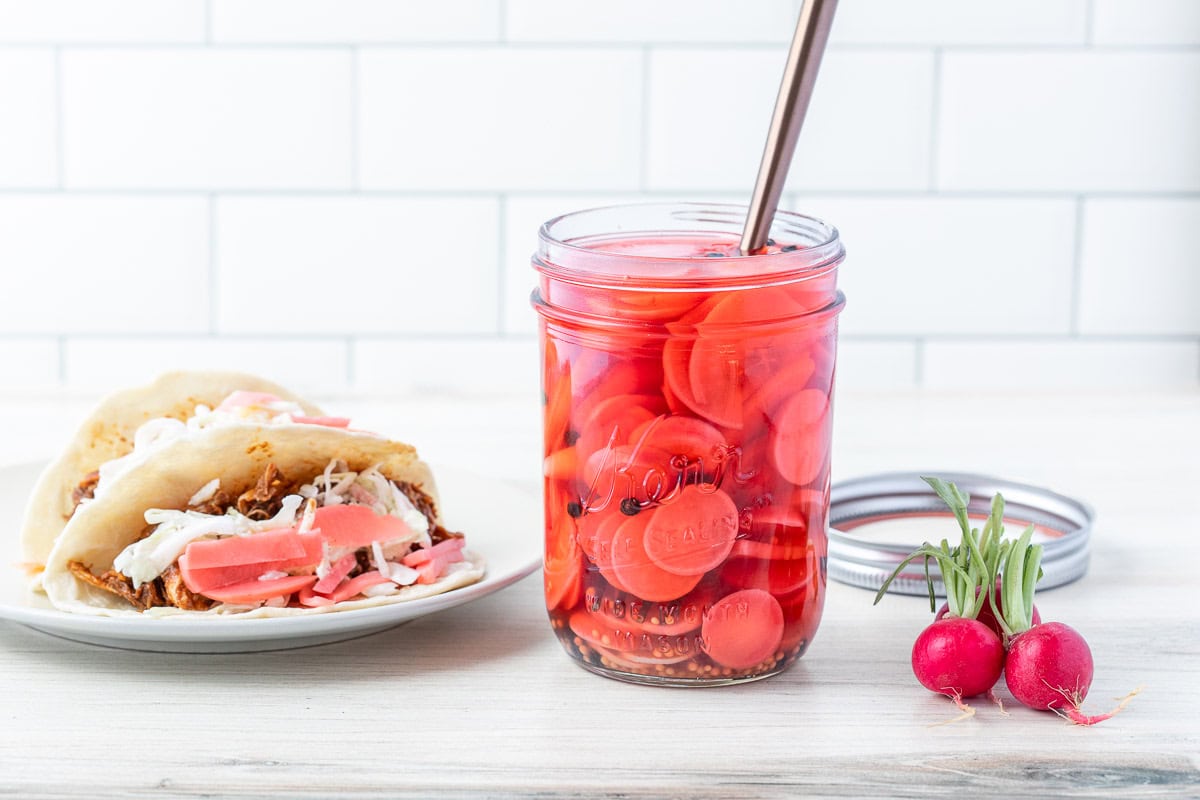
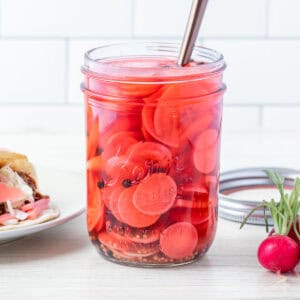
- Vibrant color: these turn pink in the brine by the next day, and add a great pop of color to tacos and sandwiches
🥗 Ingredients
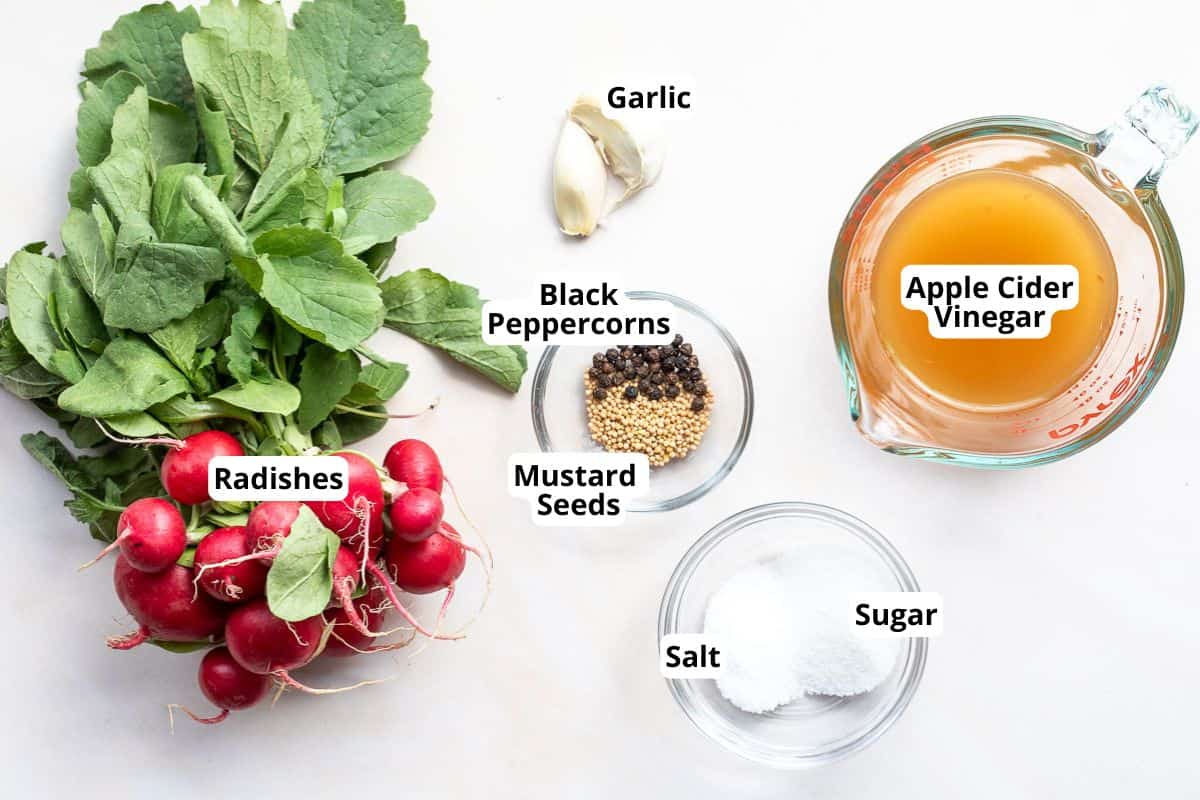
- Radishes: Look for fresh greens (if still attached), and smooth, firm red radishes with no soft spots.
- Apple Cider Vinegar: I love this vinegar that is a little softer and fruitier than white vinegar. Rice vinegar is my favorite for a substitute, though white wine vinegar, champagne vinegar, red wine vinegar, and sherry vinegar will also work well.
- Garlic: Adds flavor to these pickles. Feel free to add more or less depending on your love of garlic!
- Sugar: Regular white sugar works best as it’s easiest to dissolve.
- Spices: I love the combination of black peppercorns and mustard seeds, but there are so many options here. You might try cumin seeds, cinnamon sticks, allspice berries, or crushed red pepper. Or leave them out. The pickling base is delicious on its own!
🥣 Step-by-Step Instructions
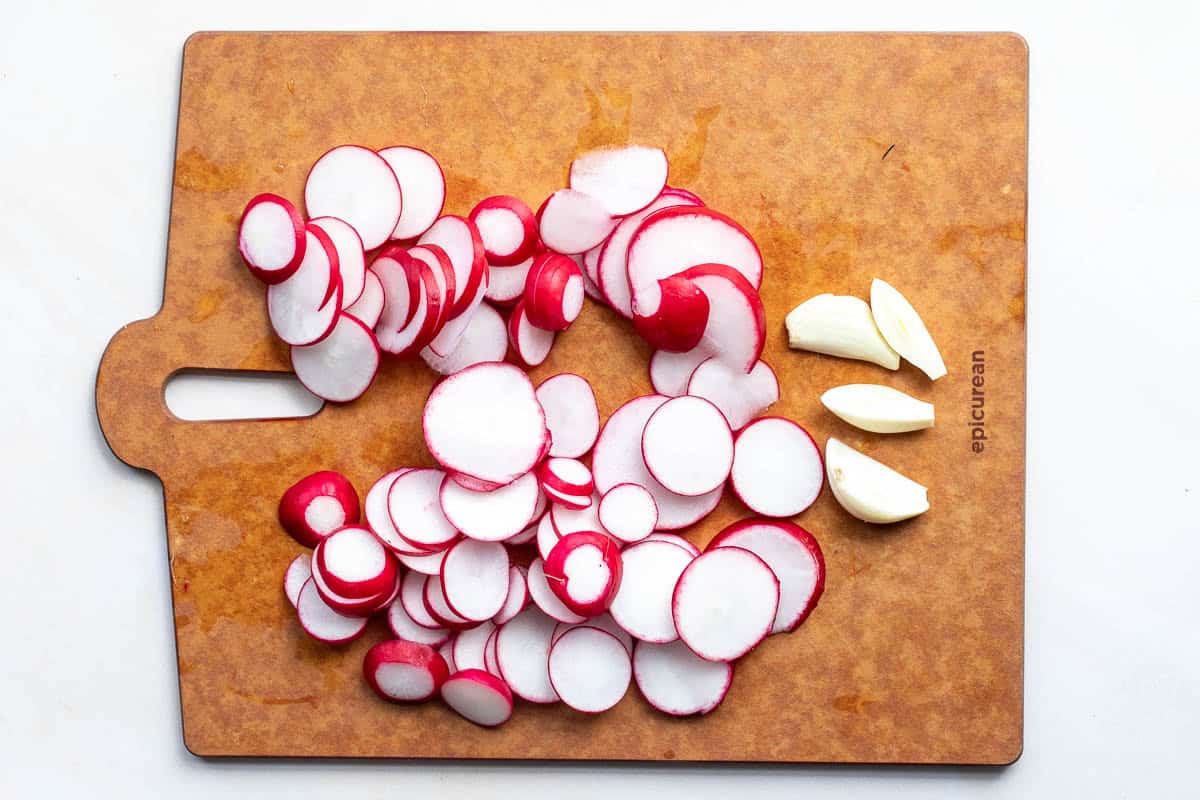
- Slice one bunch of fresh radishes thinly and halve two garlic cloves.
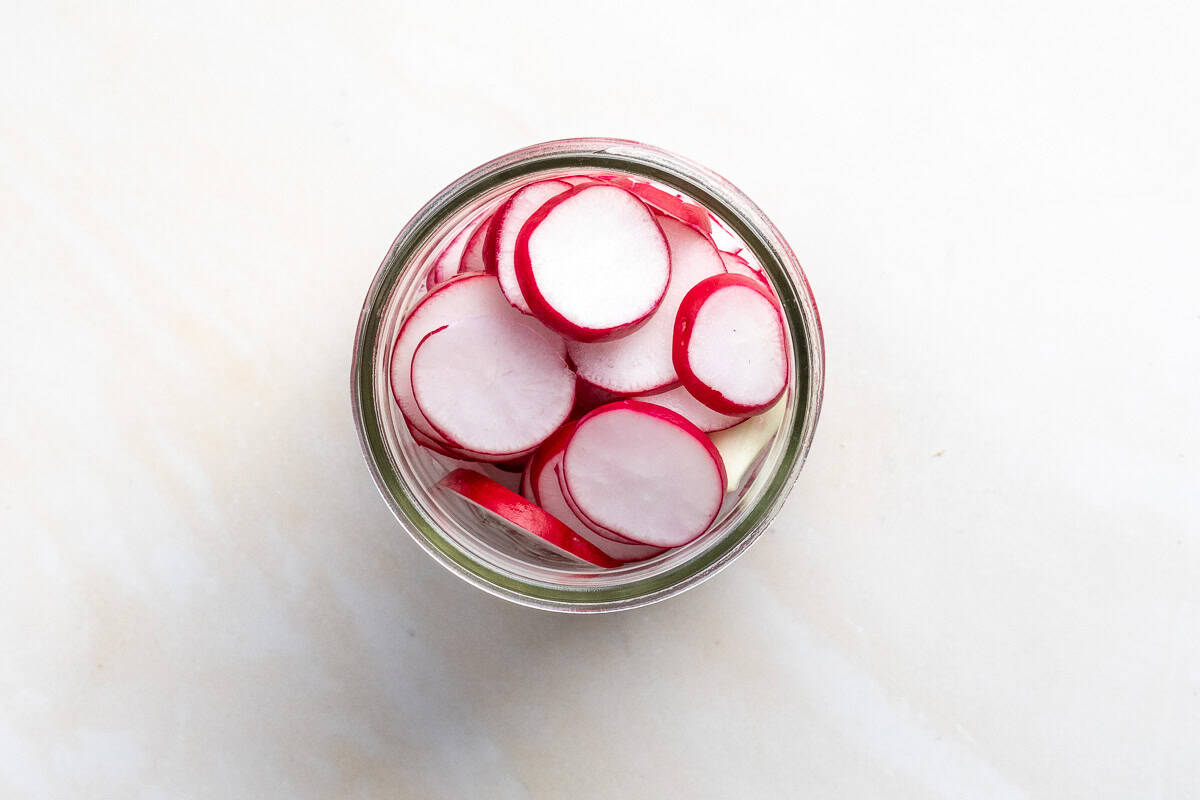
2. Pack sliced radishes and garlic into a clean pint jar.

3. Add ½ cup water, ½ cup vinegar, 2 teaspoons sugar, and 1 ½ teaspoons salt to a small saucepan and place over medium heat. Cook for 2-3 minutes, whisking frequently, until salt and sugar have dissolved.
4. Stir in ½ teaspoon black peppercorns and ½ teaspoon mustard seeds.

5. Pour the vinegar brine over radishes, making sure everything is submerged. If you have more liquid than you need, spoon in any of the peppercorns or mustard seeds that might be floating in the leftover liquid.
6. Let cool for 20 minutes, then move into the refrigerator. Chill for at least an hour before serving.
Storage Tips
Pickled radishes should be stored in their airtight container in the refrigerator, where they will keep for up to 2 weeks.
🧐 Recipe FAQs for Pickled Radishes
I wouldn’t recommend that. Glass or ceramic containers will not react with the vinegar or absorb the flavors of the pickles, so they are a better option for storage.
Heating the brine helps dissolve the salt and sugar and jumpstarts the pickling process, so I highly recommend it. That said, some quick pickling recipes don’t involve heating the brine. Instead, just stir together the ingredients until the salt and sugar dissolve, then pour over your vegetables. They will take a little longer to give you the same pickled flavor.
Radishes are naturally peppery, so if you have a particularly peppery batch, that might lead to a strong flavor. You can add more sugar to the brine to balance out a too peppery or too vinegary flavor.
👩🍳 Expert Tips
Slice your radishes thinly for the best texture (softening a little but staying crisp). Use a mandolin if you want very uniform thin slices, or just a sharp knife.
The best way to sterilize a pint jar before using it to store pickles is just to run it through the dishwasher before using.
Want to get creative with flavors? Play around with the spices in your jar. You can also add dried or fresh herbs, such as bay leaf, thyme, rosemary, and dill. Add heat with chili peppers, sliced jalapeño, or red pepper flakes. Try adding citrus peels like lemon, lime, or orange peel.
How to Use Pickled Radishes
Now that you’ve got your quick pickled radishes, there are so many ways to enjoy them since they add a fresh crunch to everything! Serve them on tacos or on a grain bowl. I love them in my Slow Cooker Tacos, Corn Tortilla Quesadillas, and my Tofu Buddha Bowl.
Use them like regular pickles on sandwiches. Add to a cheese board, as they pair beautifully with cured meats and cheeses. Try them on avocado toast too! And frankly, these make a delicious snack I enjoy eating straight out of the jar.
Other Pickle Recipes
If you enjoyed these pickled radishes, you might want to check out some other pickled vegetables and pickle-forward recipes.

If you try this Pickled Radish recipe, I would love to hear from you! Please rate this recipe and leave a comment below—your feedback is invaluable to me.
And please follow along on Instagram, Pinterest, and Facebook or subscribe to my newsletter. I’d love to inspire you with more delicious, healthy, and seasonal recipes!
📖 Recipe
Want to Save This Recipe?
Enter your email & I'll send it to your inbox. Plus, get great new recipes from me every week!
By submitting this form, you consent to receive emails from Vanilla Bean Cuisine.
Pickled Radishes
Ingredients
- 1 bunch of radishes about ½ pound
- 2 garlic cloves
- ½ cup water
- ½ cup apple cider vinegar
- 2 teaspoons sugar
- 1 ½ teaspoons salt
- ½ teaspoon black peppercorns
- ½ teaspoon mustard seeds
Instructions
- Rinse radishes, then cut off ends and slice thinly.
- Peel garlic cloves and cut in half.
- Pack radishes and garlic cloves into a very clean pint jar.
- Add water, vinegar, sugar, and salt to a small saucepan and place over medium heat. Cook for 2-3 minutes, whisking frequently, until salt and sugar have dissolved.
- Remove from heat and stir in peppercorns and mustard seeds.
- Pour brine over radishes, making sure everything is submerged. Spoon in any peppercorns or mustard seeds that might be floating in leftover liquid.
- Let cool for 20 minutes, then move into the refrigerator. Chill for at least an hour before serving.
Notes
- Slice your radishes thinly for the best texture (softening a little but staying crisp). Use a mandolin if you want very uniform thin slices, or just a sharp knife.
- The best way to sterilize a pint jar before using it to store pickles is just to run it through the dishwasher before using.
Nutrition
Instagram Users: Now that you've made this pickled radishes recipe, tag me @vanillabeancuisine or #vanillabeancuisine because I’d love to see your results!

More About Molly

Cooking healthy(ish) meals with seasonal ingredients is my passion. Trained as a French pastry chef, I spent over 10 years as a personal chef. Here you'll find well-tested recipes that you and your family will love!