Best Brown Butter Rice Krispie Treats
As an Amazon affiliate, I earn from qualifying purchases.
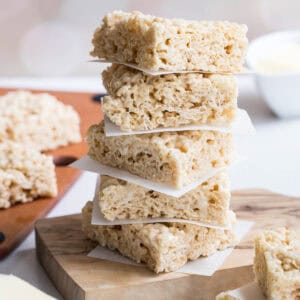
These Brown Butter Rice Krispie Treats are thick and gooey with that lovely nutty flavor that comes from browned butter. Ready in 15 minutes, no oven required!
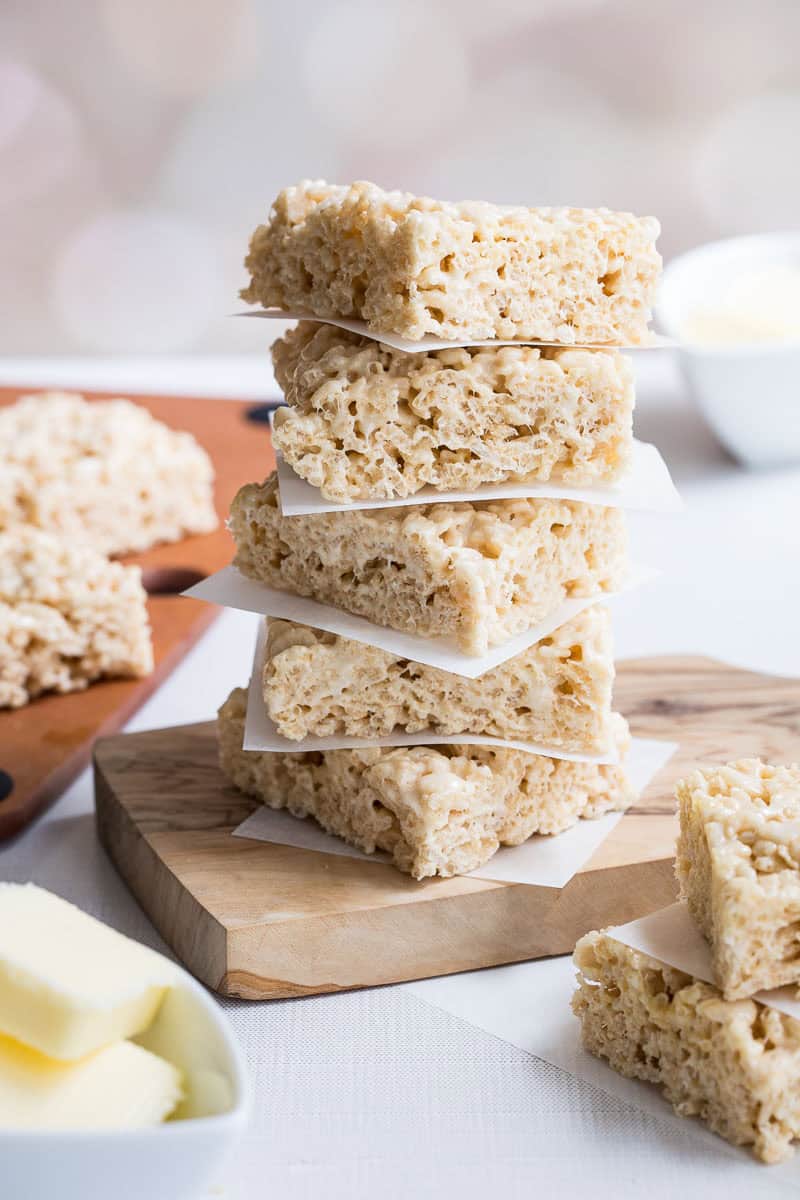
Working with brown butter is tricky, and the first few times I tested this recipe were not a success. The Rice Krispie squares came out tough and dry, and the brown butter flavor disappeared into the marshmallows. Turns out that browning butter evaporates some of the moisture in butter. To account for that, I made two simple changes: increase the amount of butter, and use the entire bag of marshmallows for extra gooeyness.
Jump to:
- Why You'll Love These Brown Butter Rice Krispie Treats
- Brown Butter Rice Krispie Treats Ingredients
- How to Make Brown Butter Rice Krispie Treats
- Storage Tips
- Recipe FAQs for Browned Butter Rice Krispie Treats
- 👩🍳 Expert Tips
- Variations for Rice Krispie Treats with Browned Butter
- Other Easy Treats You'll Love
- 📖 Recipe
- More About Molly
Why You'll Love These Brown Butter Rice Krispie Treats
- Extra Soft and Chewy: Using the whole bag of marshmallows (not just part of it) gives you melted marshmallow pulls to drool over.
- Real Brown Butter Flavor: This gives these treats more of a grown-up flavor profile than your standard Rice Krispie treats.
- Ready in 15 Minutes: One pot, no oven, and easy cleanup.
Brown Butter Rice Krispie Treats Ingredients
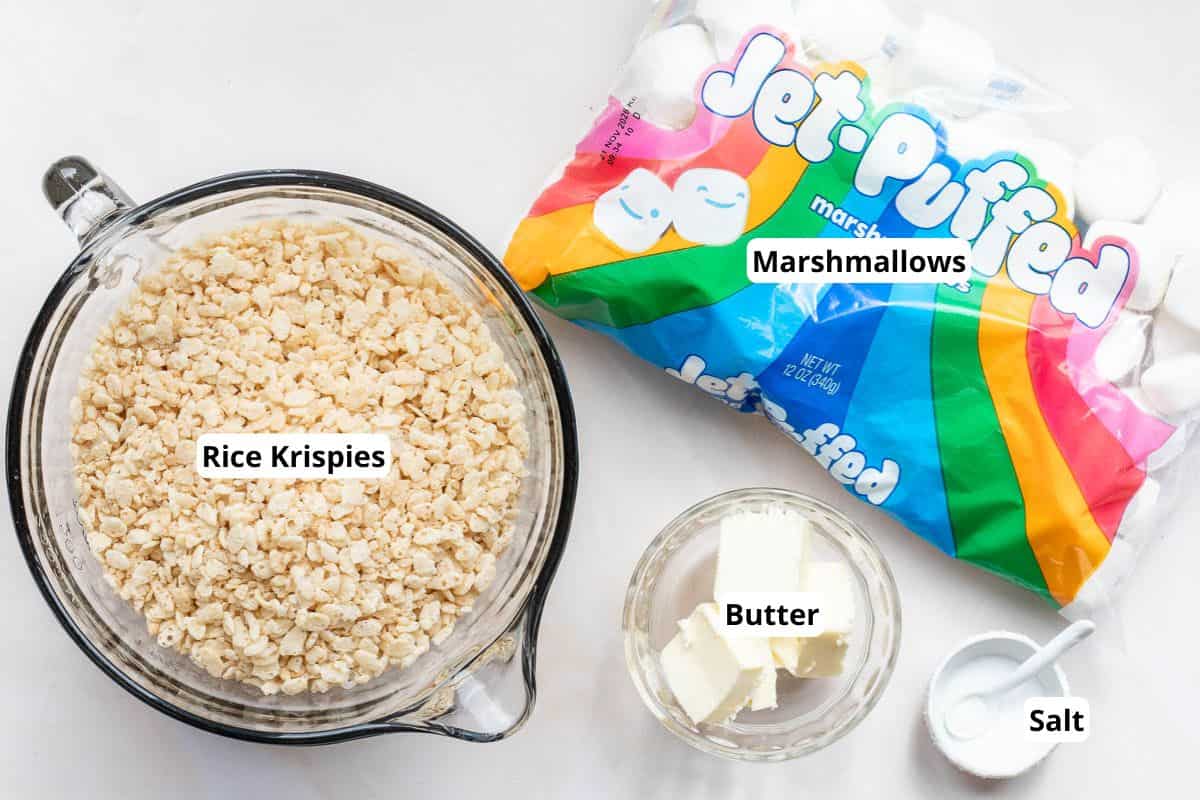
- Salted Butter: I use salted butter because it balances all that sweet marshmallow. If you only have unsalted butter on hand, that's fine, just add a pinch more kosher salt at the end.
- Marshmallows: Feel free to use either mini or regular-sized marshmallows. Mini marshmallows will melt faster, so keep stirring and watch carefully. For a vegan Rice Krispie treat, use vegan marshmallows like the Dandies brand.
- Rice Krispies: Regular Rice Krispies cereal is what I use and recommend, but you can use any brand of crispy rice cereal as a substitute.
How to Make Brown Butter Rice Krispie Treats
- Grease a 9x13-inch pan with cooking spray and set it aside.
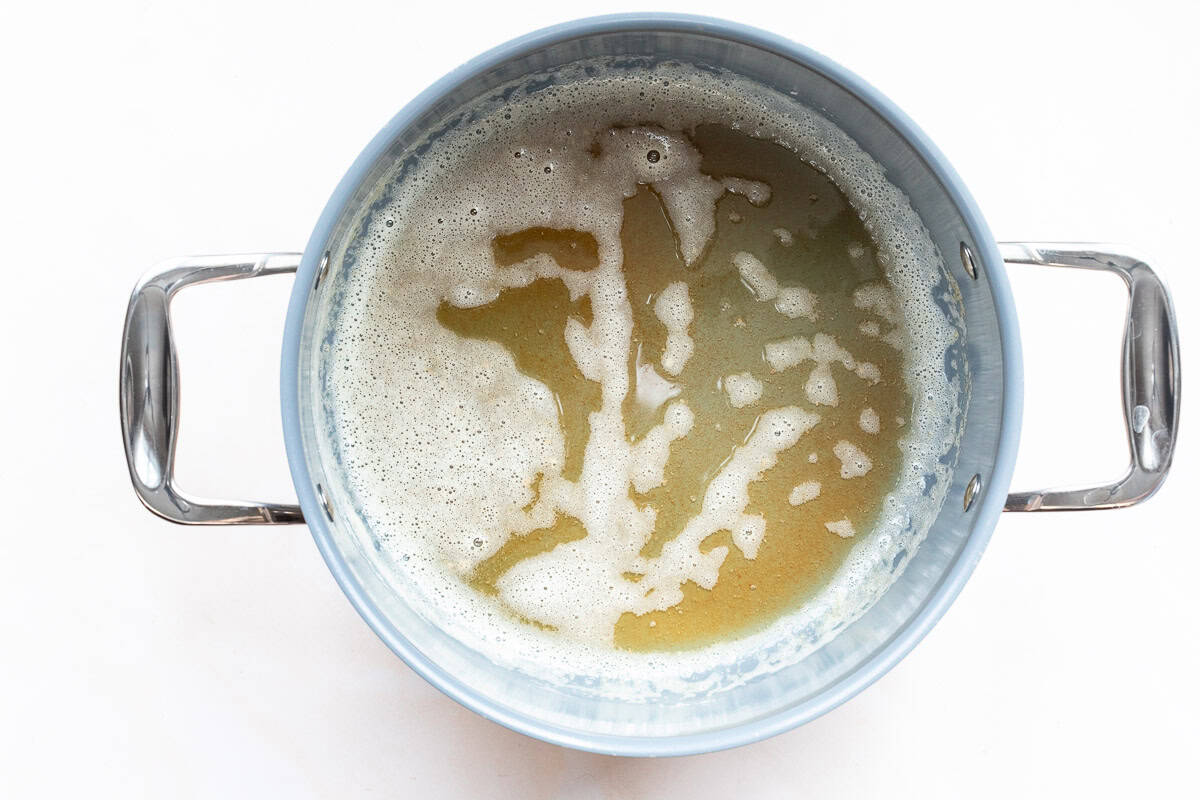
- Melt 5 tablespoons salted butter in a large non-stick saucepan over medium-low heat. Let it cook, stirring often, until it turns golden brown and smells nutty, about 5-8 minutes. Don't walk away since butter can go from perfectly browned to burnt fast.
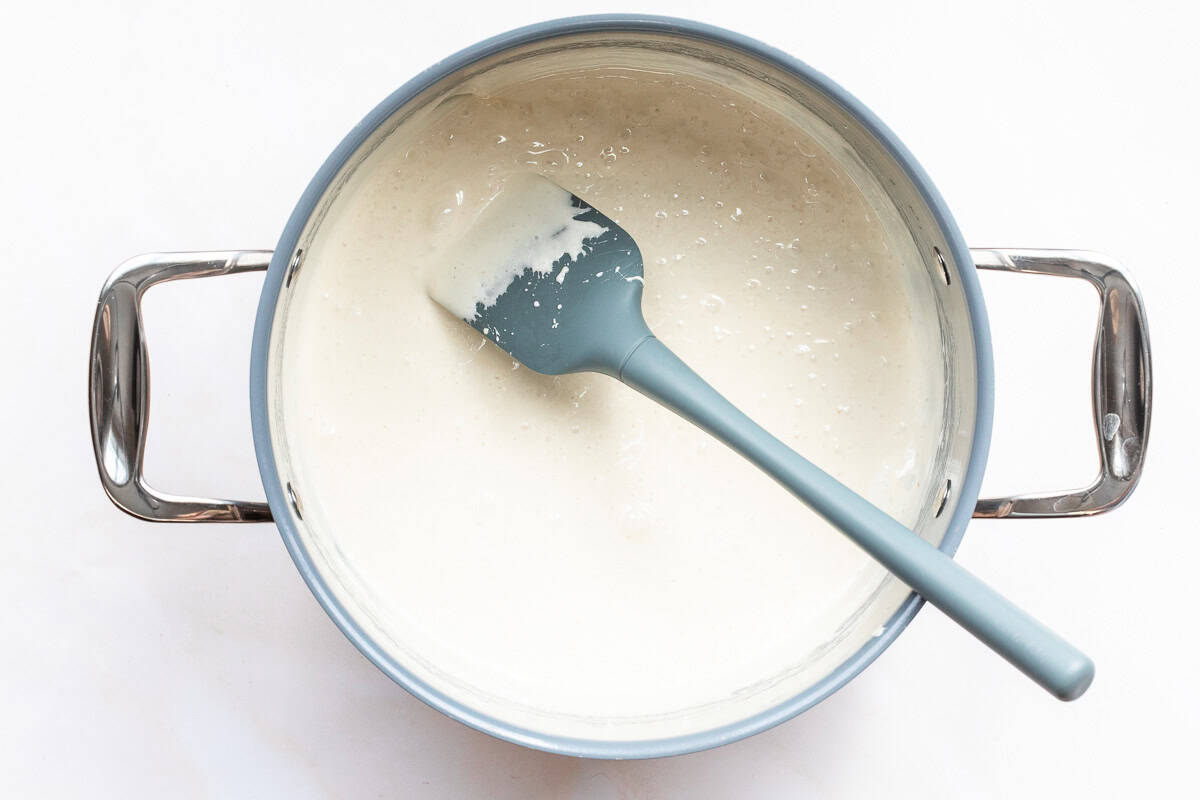
- Turn the heat down to low. Stir in 12 ounces of marshmallows (the whole bag), and keep stirring until totally melted.
- Turn off the heat and stir in ½ teaspoon kosher salt.
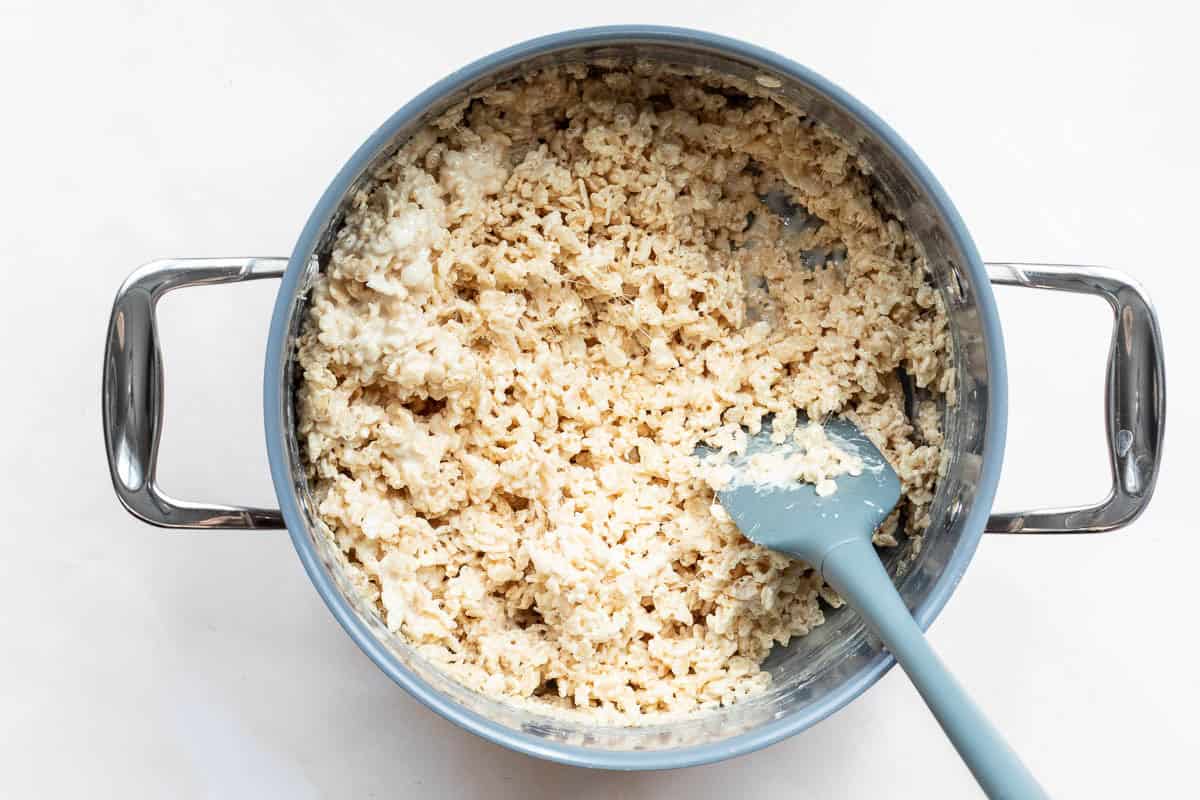
- Add 6 cups Rice Krispies and stir just until everything is coated.
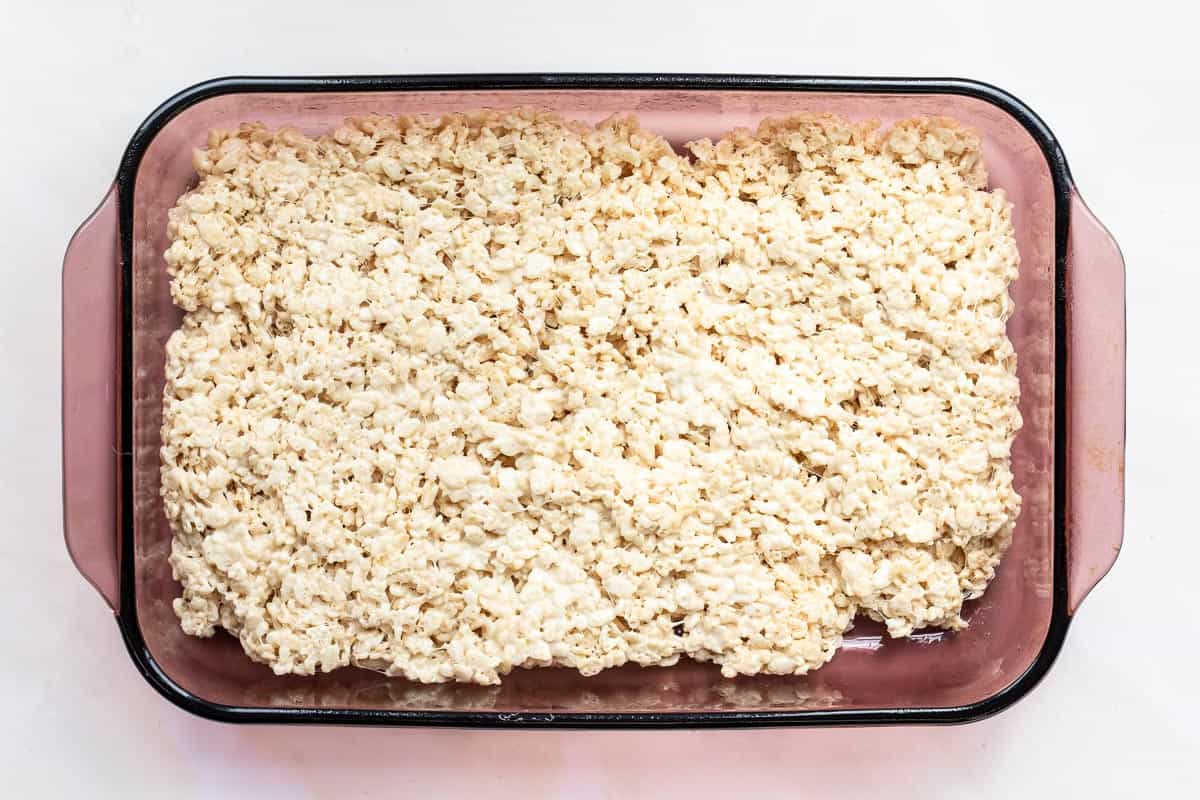
- Scrape the cereal mixture into your prepared pan.
- Coat a rubber spatula with nonstick spray and gently press the mixture into an even layer. Press lightly, don't pack it down, or you'll end up with dense, hard treats instead of gooey ones.
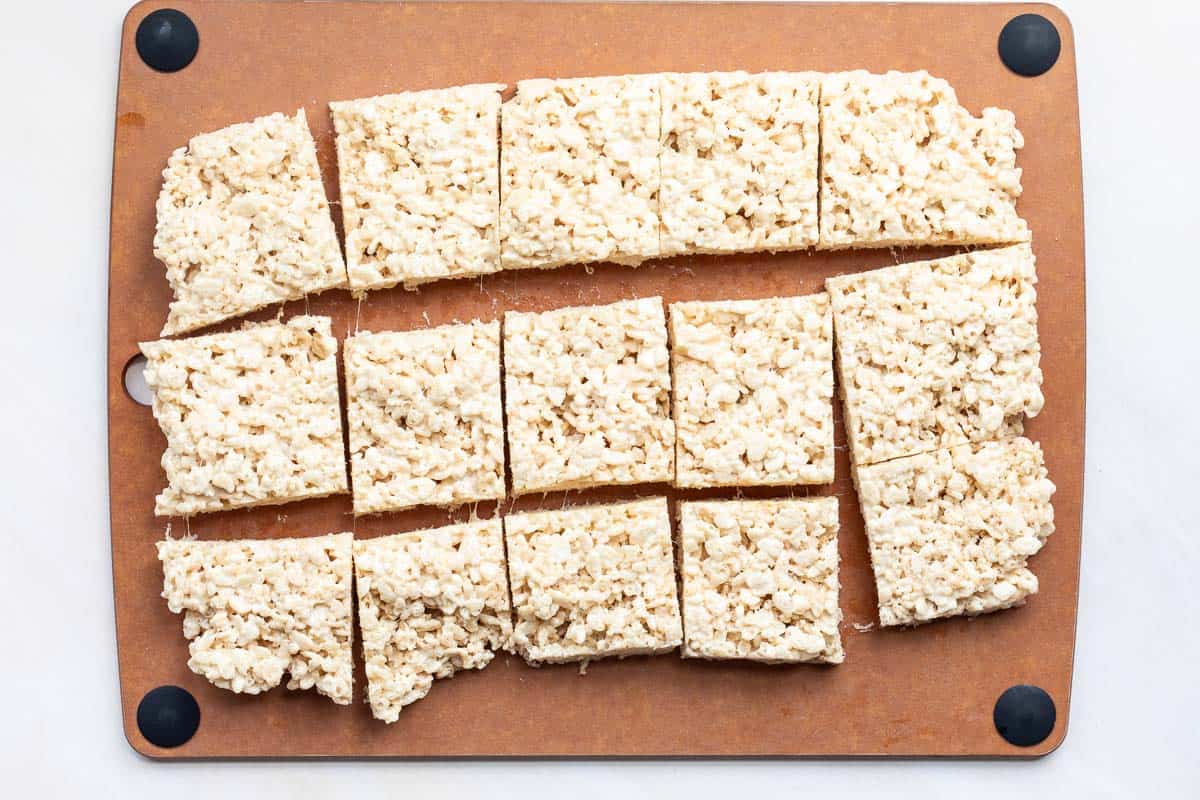
- Let cool for at least 30 minutes, then remove from the pan and cut into squares.
Storage Tips
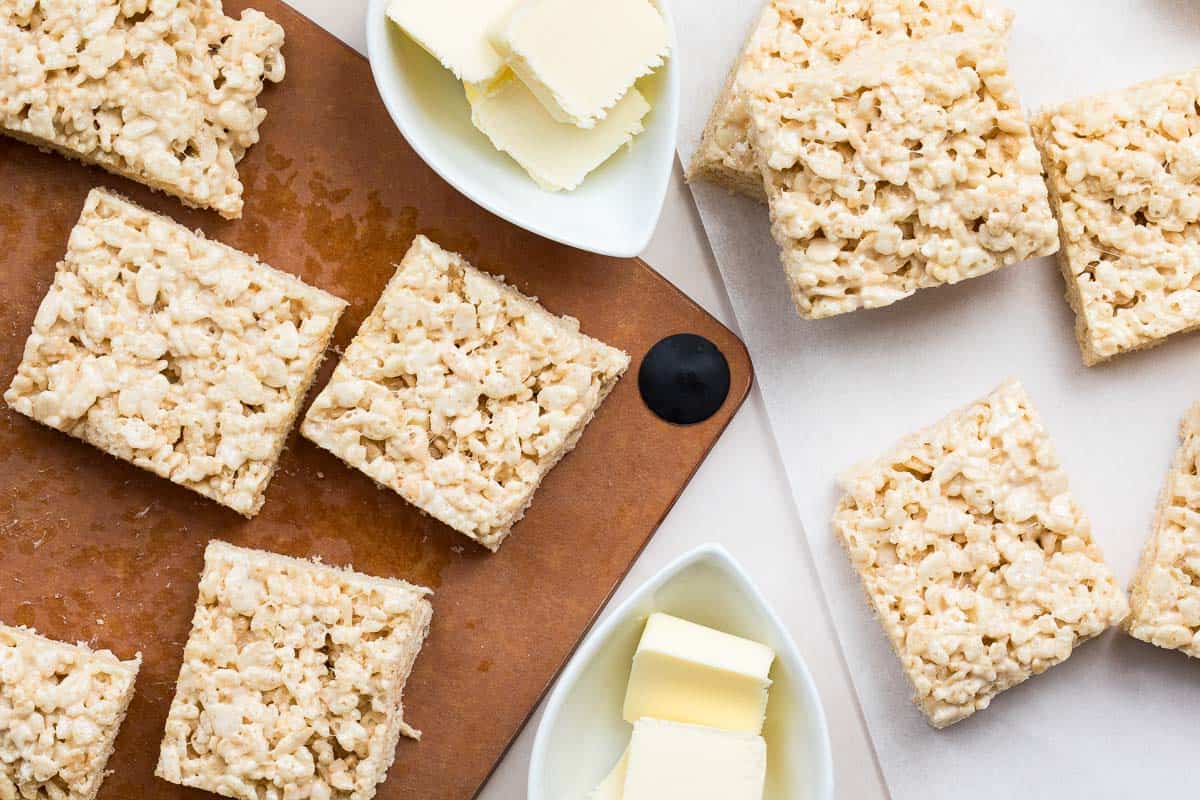
Rice Krispie treats will store well for up to 3 days in an airtight container. Use wax paper between layers of squares so they don't stick to each other. After 3 days, the squares will become stale and noticeably harder. Don't refrigerate these treats. They'll harden in the fridge and won't soften back up once they come to room temperature again.
You can, however, freeze them for 4-6 weeks in a freezer bag or airtight container. Cut into squares before freezing and wrap individually in plastic wrap, so you can grab one whenever you want. Let it sit out at room temperature for about 15 minutes to soften back up before eating.
Recipe FAQs for Browned Butter Rice Krispie Treats
Regular Rice Krispies are not gluten-free, as they contain malt flavoring derived from grain. Look for a gluten-free version of Rice Krispies or a similar rice cereal to make these treats gluten-free.
The two main reasons for this are using stale marshmallows or pressing the mixture too firmly into the pan. If you do have hard Rice Krispie treats, you can try softening them in the microwave for about 10 seconds.
If your butter browns so much that the brown bits at the bottom look almost burnt, scrape the melted butter out of the pan and into a bowl. Wipe out the pan. Pour the melted butter back in, but leave the scorched milk solids in the bowl, then proceed with the recipe.
👩🍳 Expert Tips

- The key to deliciously gooey rice krispie treats is cooking the butter and marshmallow mixture low and slow. With the butter, you’re looking for a light golden color and a nutty aroma, with some little brown flecks at the bottom of the pan. Use a light-colored pan if you have one, so the color is easier to see. Contrary to what you might expect, browning the butter more will not improve the flavor! Then, use low heat and be patient as the marshmallows melt. As soon as they're fully melted, turn off the heat.
- Make sure your ingredients are fresh. Marshmallows go stale quickly, so if you have an opened bag in the pantry, save those for something else. They won't melt nearly as well.
- When you're pressing the Rice Krispie treat mixture into the pan, don’t press down too hard with your spatula. Press too firmly and you'll end up with dense, hard treats. And remember to grease the pan well so the squares come out easily.
Variations for Rice Krispie Treats with Browned Butter
Want a few ways to change these up? I’ve got ideas for you:
- Sprinkle with some flaky sea salt while the treats are still warm to make Sea Salt Brown Butter Rice Krispie Treats.
- Add a teaspoon of vanilla extract or vanilla bean paste into the melted marshmallows for a vanilla flavor boost.
- Drizzle melted dark or milk chocolate over the top once cooled, or dip individual squares halfway.
- Fold in some mix-ins like sprinkles, chocolate chips, or M&Ms. Wait until right before you scrape the mixture into the pan so that they don’t fully melt. Adding in chopped Cadbury mini eggs is a favorite of mine around Easter. Check out my Easter Rice Krispie Treats recipe for details.
- Sprinkle extra marshmallows over the top, after the treats have been spread in the pan. Mini marshmallows work the best for this.
- Try a different flavor, like these microwave-friendly Oreo Rice Krispie Treats.
Other Easy Treats You'll Love
If you love this classic treat recipe, I’ve got a few other recipes you might want to check out. Some of these lean into that same delicious brown butter flavor too. Start with my Brown Butter Financiers, or try one of these:


If you try this Brown Butter Rice Krispie Treats recipe, I would love to hear from you! Please rate this recipe and leave a comment below—your feedback is invaluable to me.
And please follow along on Instagram, Pinterest, and Facebook or subscribe to my newsletter. I’d love to inspire you with more delicious, healthy, and seasonal recipes!
Instagram Users: Now that you've made these Browned Butter Rice Krispies Treats, tag me @vanillabeancuisine or #vanillabeancuisine because I’d love to see your results!
📖 Recipe
Want to Save This Recipe?
Enter your email & I'll send it to your inbox. Plus, get great new recipes from me every week!
By submitting this form, you consent to receive emails from Vanilla Bean Cuisine.
Brown Butter Rice Krispie Treats
Ingredients
- 5 tablespoons salted butter
- 12 ounces marshmallows
- ½ teaspoon kosher salt
- 6 cups Rice Krispies
Instructions
- Grease a 9x13-inch pan with cooking spray.
- Melt butter in a large non-stick saucepan over medium low heat, until lightly browned and nutty, about 5-8 minutes.
- Turn heat down to low. Stir in marshmallows, and continue to stir until totally melted.
- Turn off the heat and stir in ½ teaspoon kosher salt.
- Add the Rice Krispies and stir just until everything is coated.
- Scrape mixture into prepared baking pan.
- Coat a rubber spatula with cooking spray and gently press the mixture into an even layer. Press lightly, don't pack it down, or you'll end up with dense, hard treats instead of gooey ones.
- Let cool for at least 30 minutes, then remove from pan and cut into squares.
Notes
Nutrition
More About Molly

Cooking healthy(ish) meals with seasonal ingredients is my passion. Trained as a French pastry chef, I spent over 10 years as a personal chef. Here you'll find well-tested recipes that you and your family will love!